
My Experience Knitting the Daydreamer Cardigan by Kutovakika (Pattern review + tips)
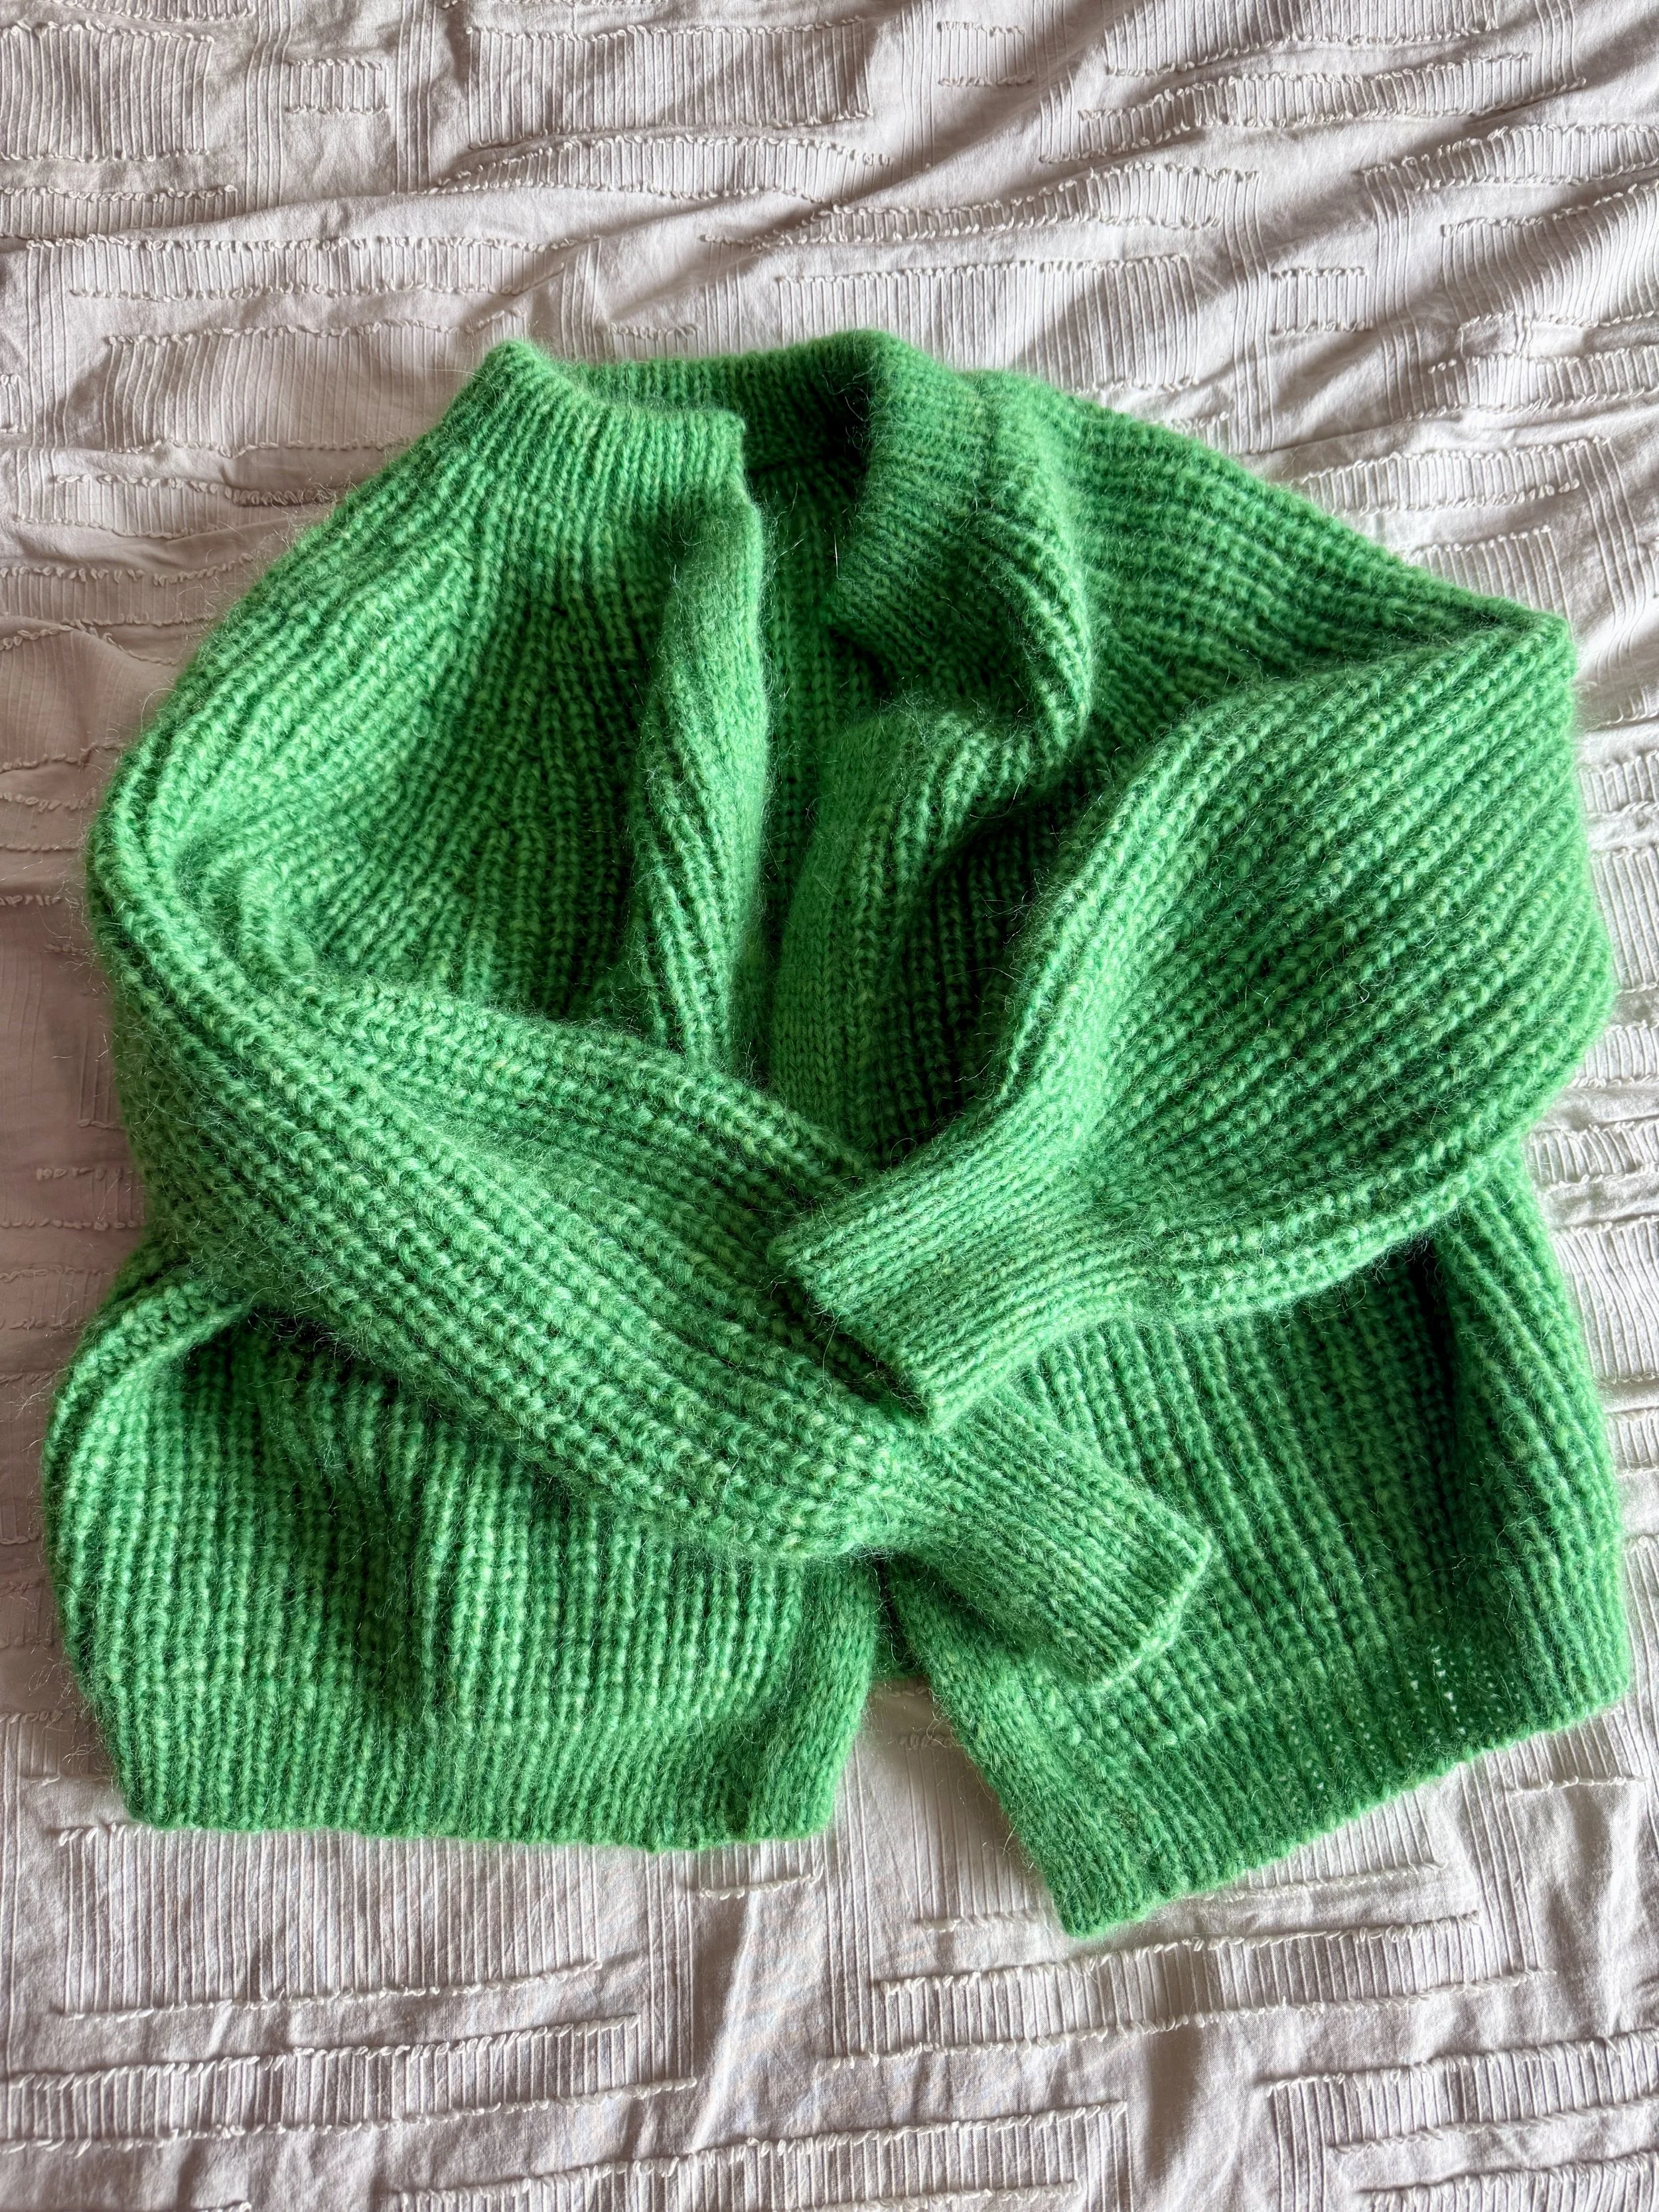
I fell victim to swooning over the Emilie Cardigan by Sezanė like most women last spring and unfortunately I didn’t want to shell out $180 for something I knew I could knit myself. Enter the popular cardigan knitting pattern Daydreamer Cardigan by Kutovakika — a damn near perfect match in all ways.
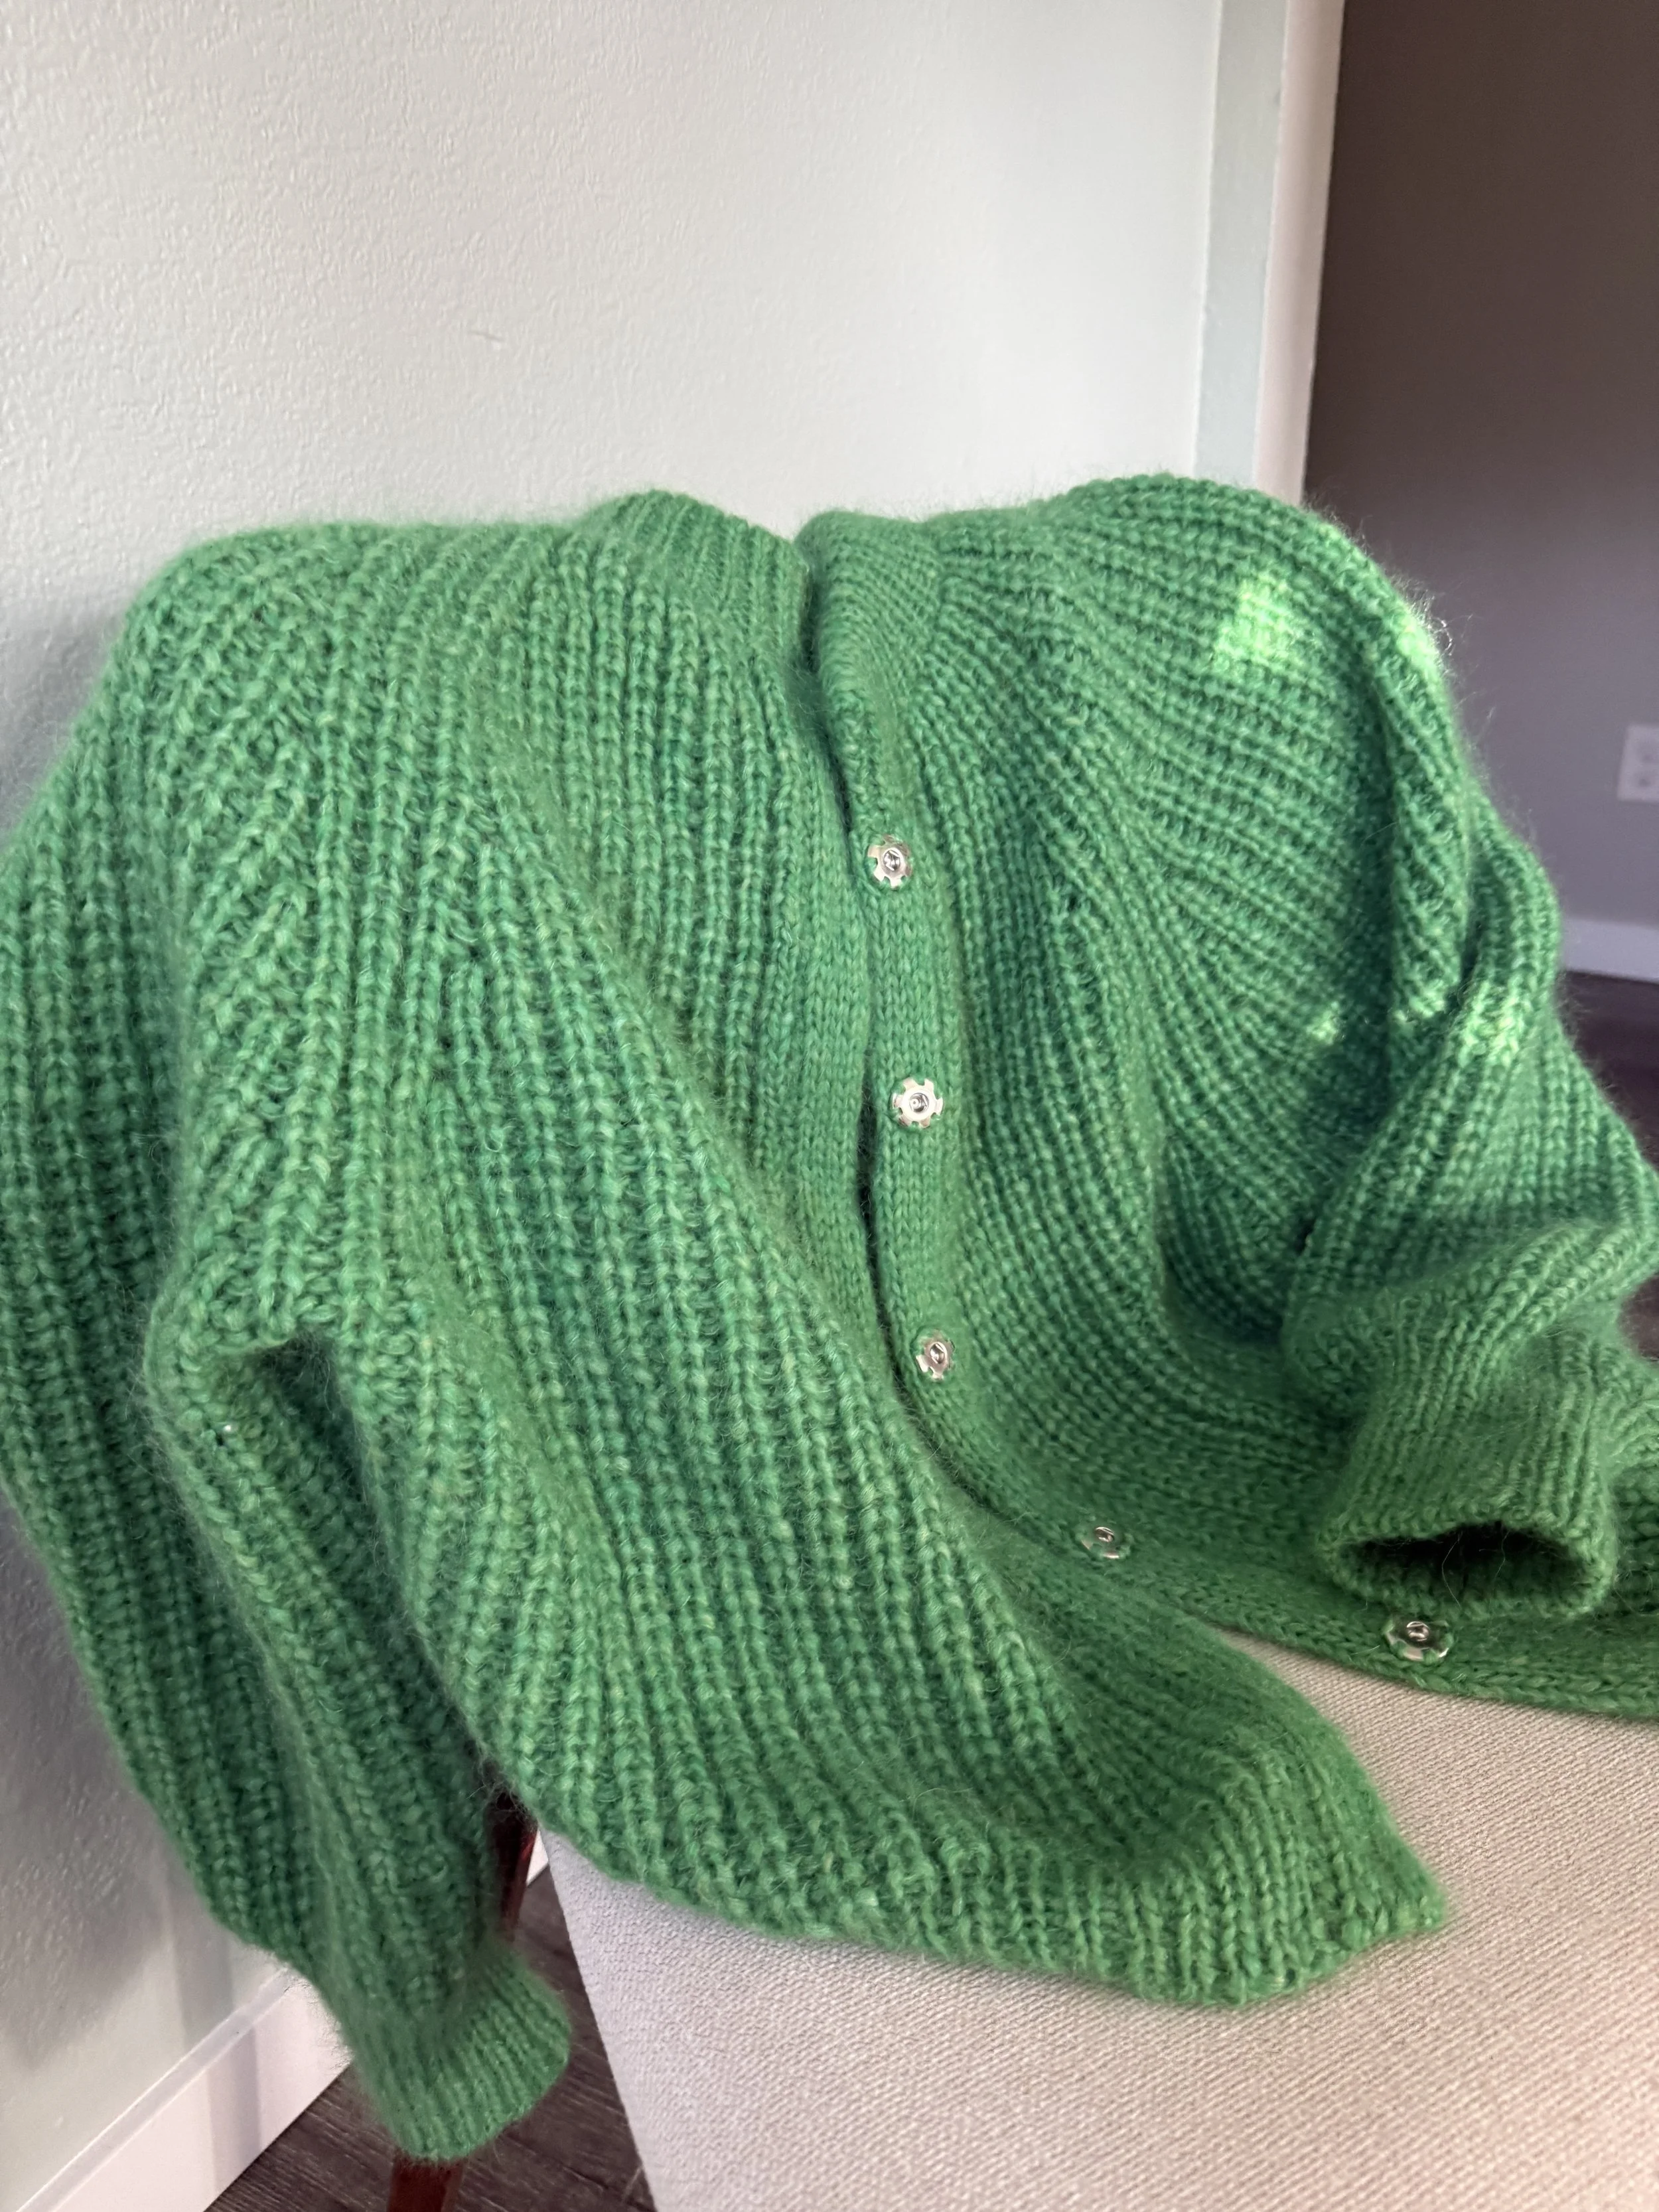
While this pattern was overall fairly simple, it challenged me immensely. Dropping and learning to pick up half fisherman rib (HFR) stitches feels like torture the first fifty times you do it. I also thought this whole pattern was written incorrectly because I, a true idiot, thought that half fisherman’s rib was worn wrong side out. So, I have a finished cardigan with the more raised ribbing facing outward, which I am totally fine with.
Pattern Overview
The Daydreamer Cardigan is designed by the Finnish knitwear designer Veronika Lindberg. The pattern is rated at an intermediate level and I would agree with this rating, however I totally think an adventurous beginner could tackle it! It’s a knitted flat, top down, with raglan increases all in HFR. HFR is a phenomenal stitch to knit flat because the wrong side is just knit stitches, so the only purls are on the right side creating the ribbing. The flat parts go SO fast.
My Yarn Choices & Substitutions
I chose to use Drops Air and Drops Kid Silk Mohair from LindeHobby, both in Parrot Green. I like the lightness of the Drops Air despite it being a worsted weight yarn, and I envisioned this sweater as a spring sweater so the drops air was perfect. Drops Air and Silk Mohair, even shipping from Denmark, was more cost effective than buying a similar yarn here in America. I can’t say the same now since the tariffs are in place, but LindeHobby is still shipping to American despite the unfortunate tariffs.
Knitting Experience (Ease + Challenges)
Overall, the knitting experience was really pleasant. The only unpleasant parts were of my own doing (of course). I heard once in my early days of knitting that HFR is always worn wrong side (WS) out — and I can’t believe I just took this one snippet of information and took it as truth. I was SO confused why I was knitting the sleeves inside out — I found myself getting super annoyed at the designer — and it wasn’t until the button band that I realized my assumptions were making an ass out of myself. The pattern felt confusing and backwards because the right side (RS) is on the outside, like normal. I was just operating from this assumption that HFR is worn WS out always and it cost me. Overall it ended up fine, I like the raised ridge of the WS and the sweater looks totally fine, I just created more work for myself (classic Mallorie).

As you can see from the first photo, I had to frog almost immediately. Now, there is no true hell like frogging mohair AND a blown yarn. I will be honest, I almost gave up on the whole thing. Instead, I promised myself I will not frog to fix mistakes — it is what it is— and I used the hell out of lifelines during the body. There were a few mistakes along the way but like I said learning to fix HFR stitch is an invaluable skill to learn in this project.
Technical Observations and Notes
To get gauge I went up a needle size to a US 9. I was anticipating this as I knit tightly. I chose to steam block my gauge swatch per the recommendation from the designer and I’m really glad I did. I think wet blocking would have really deflated the stitches and created a way more open and loose fabric. I wanted there to be tiny bit a structure, despite using the worlds most delicate yarn.
I casted on this project on April 4, 2025 and immediately realized I was not familiar with the K1B, YO, K1B increase stitch used in the pattern. I found this video incredibly helpful. Once I got the hang of it I really liked the way the way these increases are worked. It’s much more intuitive and easier to remember than M1L/M1R. I did mess up which resulted in my one and only frog.
One thing I really loved about this sweater is that you FLY through the body because the wrong side is all knits instead of the usual purls. I knit the body 2” shorter than the patter (8” from underarm) and with the 2” of ribbing it hit my hips perfectly. I used the italian bind off without the tubular set up rows for the cast off. TIP: when using a sewn bind off with mohair, cut the mohair strand and tie it off at the base of the other yarn before you start the bind off. This way you’re only pulling one yarn through and you literally cannot tell you didn’t bind off with the mohair.
The speed and east of the body was not not my reality when it came to the sleeves. I was stuck on sleeve island for MONTHS — I had zero interest in knitting HFR in the round — since I was knitting it backwards and inside out (*facepalm) it was either the ribbing or purling over and over for 13”. Kill me. I finally finished both sleeves on July 19th, 2025 and again I knit the sleeves two inches shorter than pattern, stopping at 13” instead of 15”. I wanted a tighter, longer cuff so I knit about 4.5” of ribbing. I also did an extra round of decreases before the ribbing to help it balloon out more.
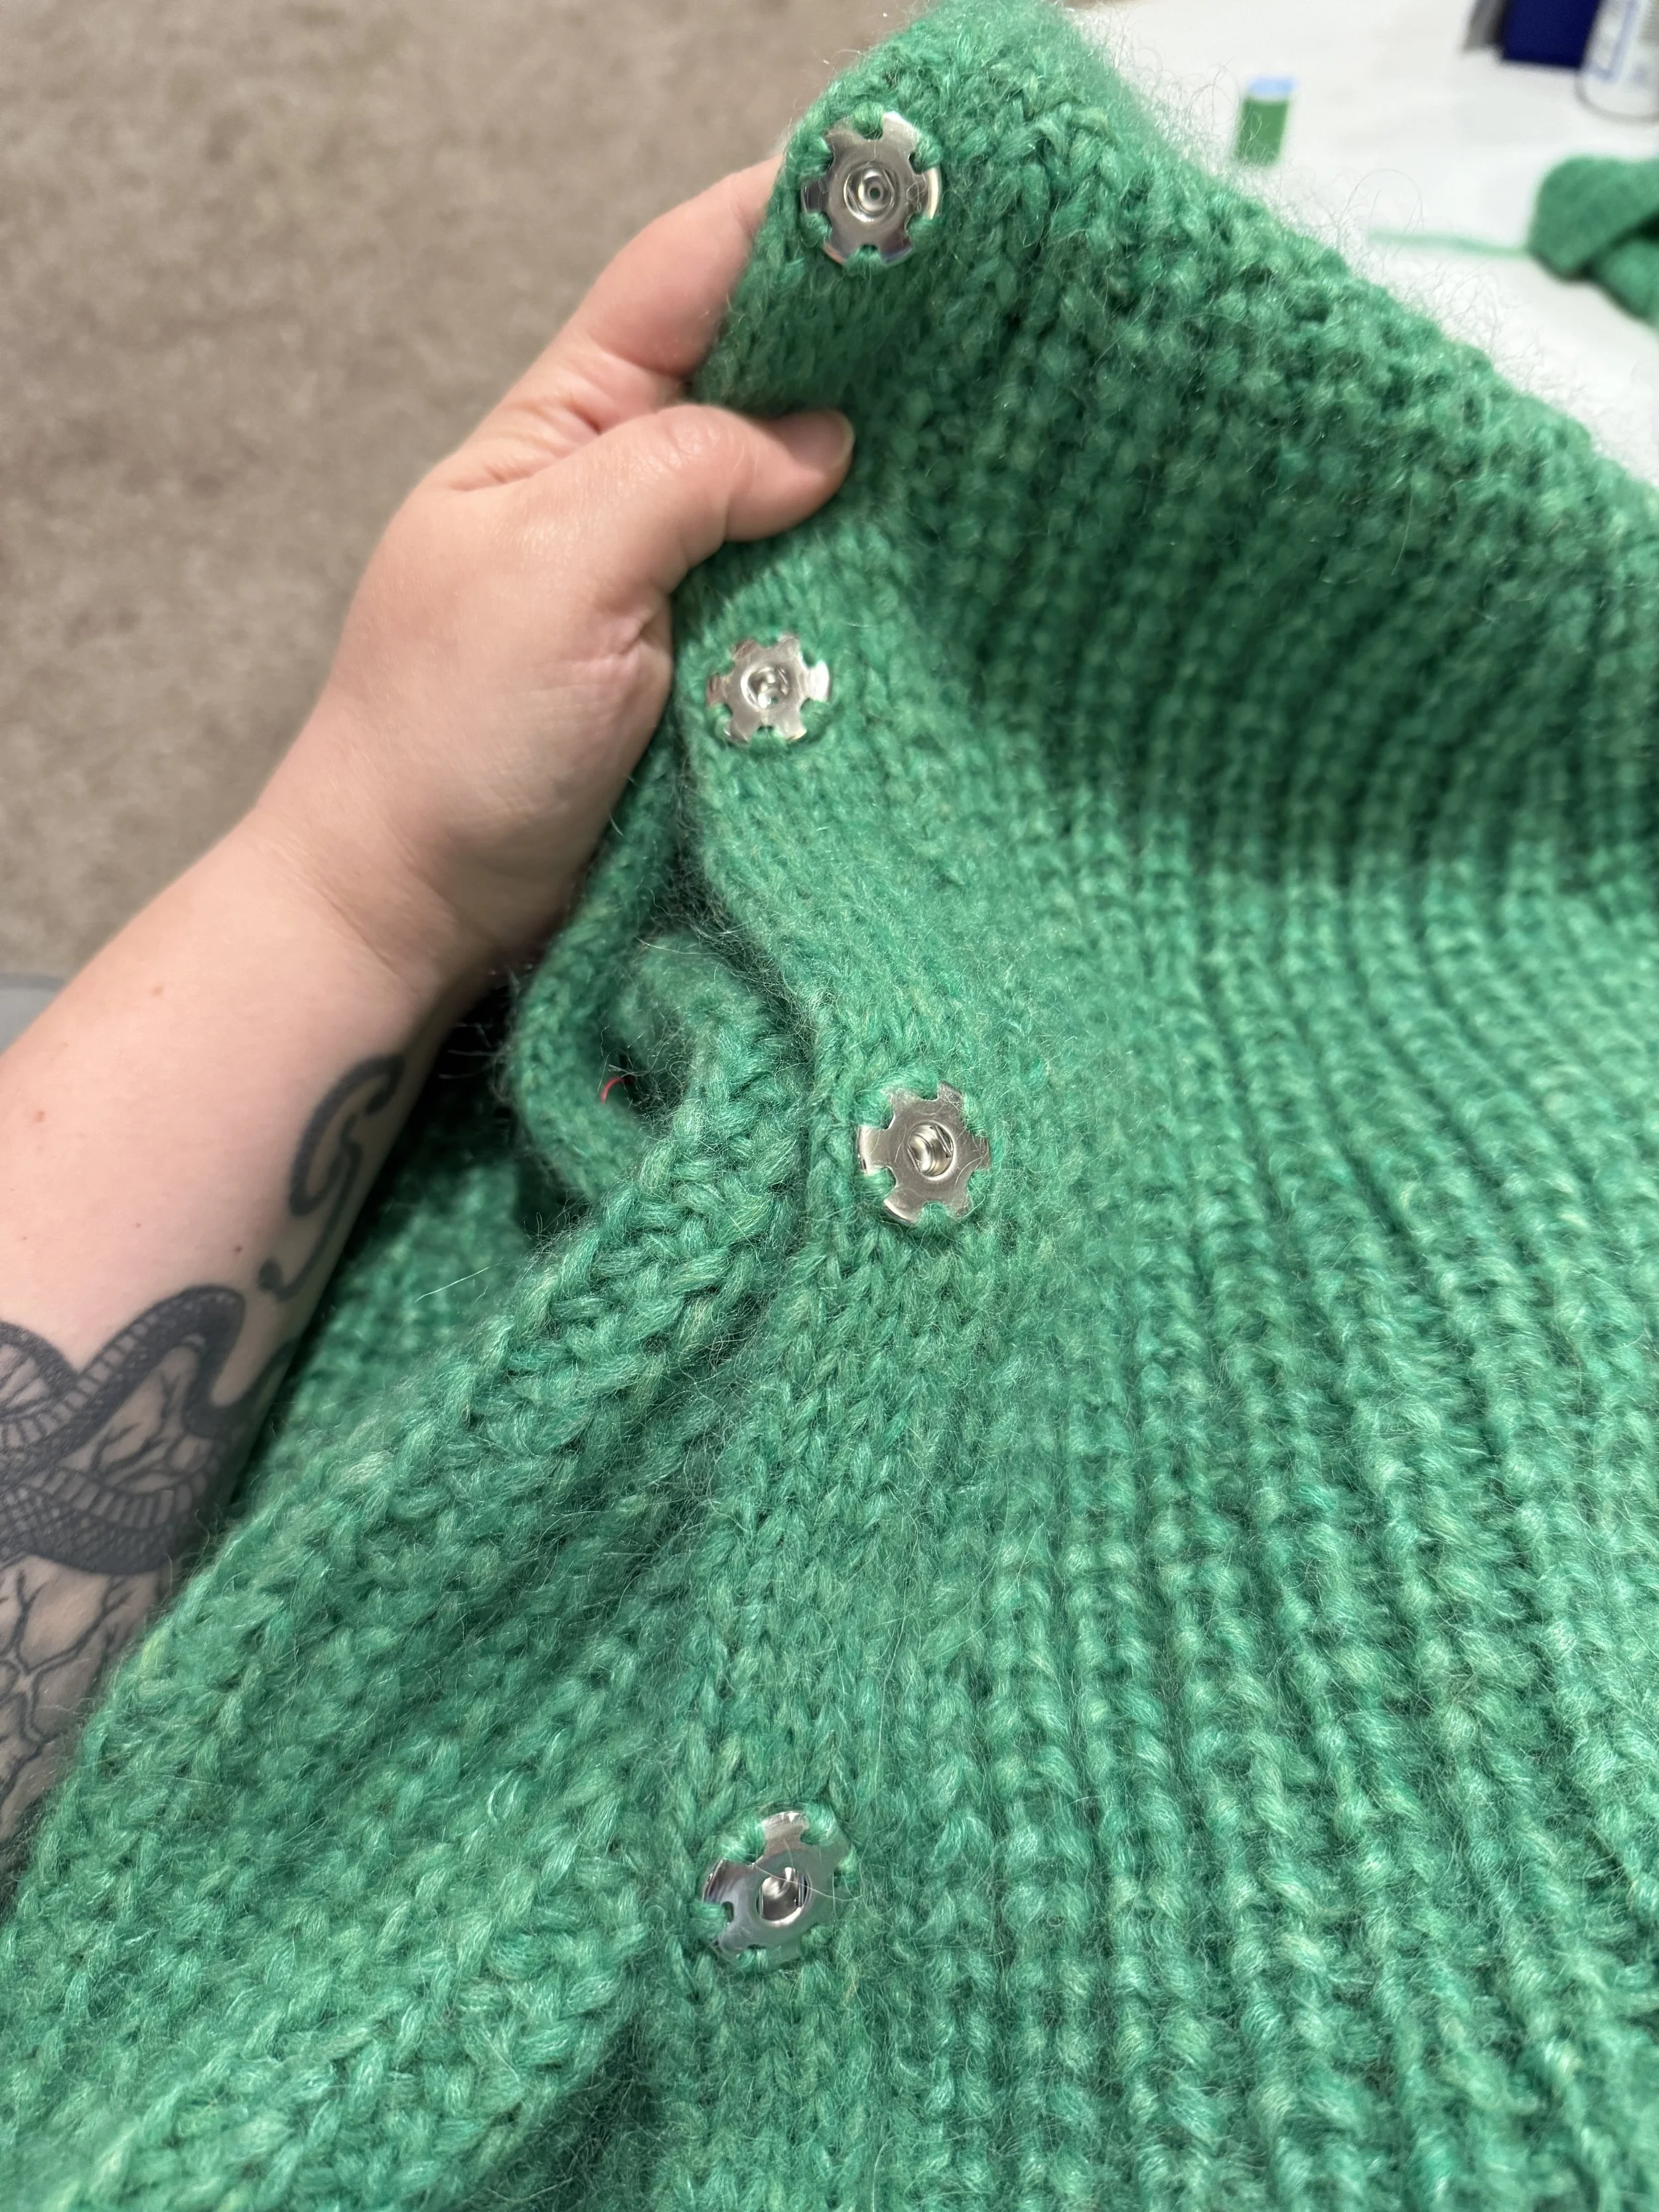
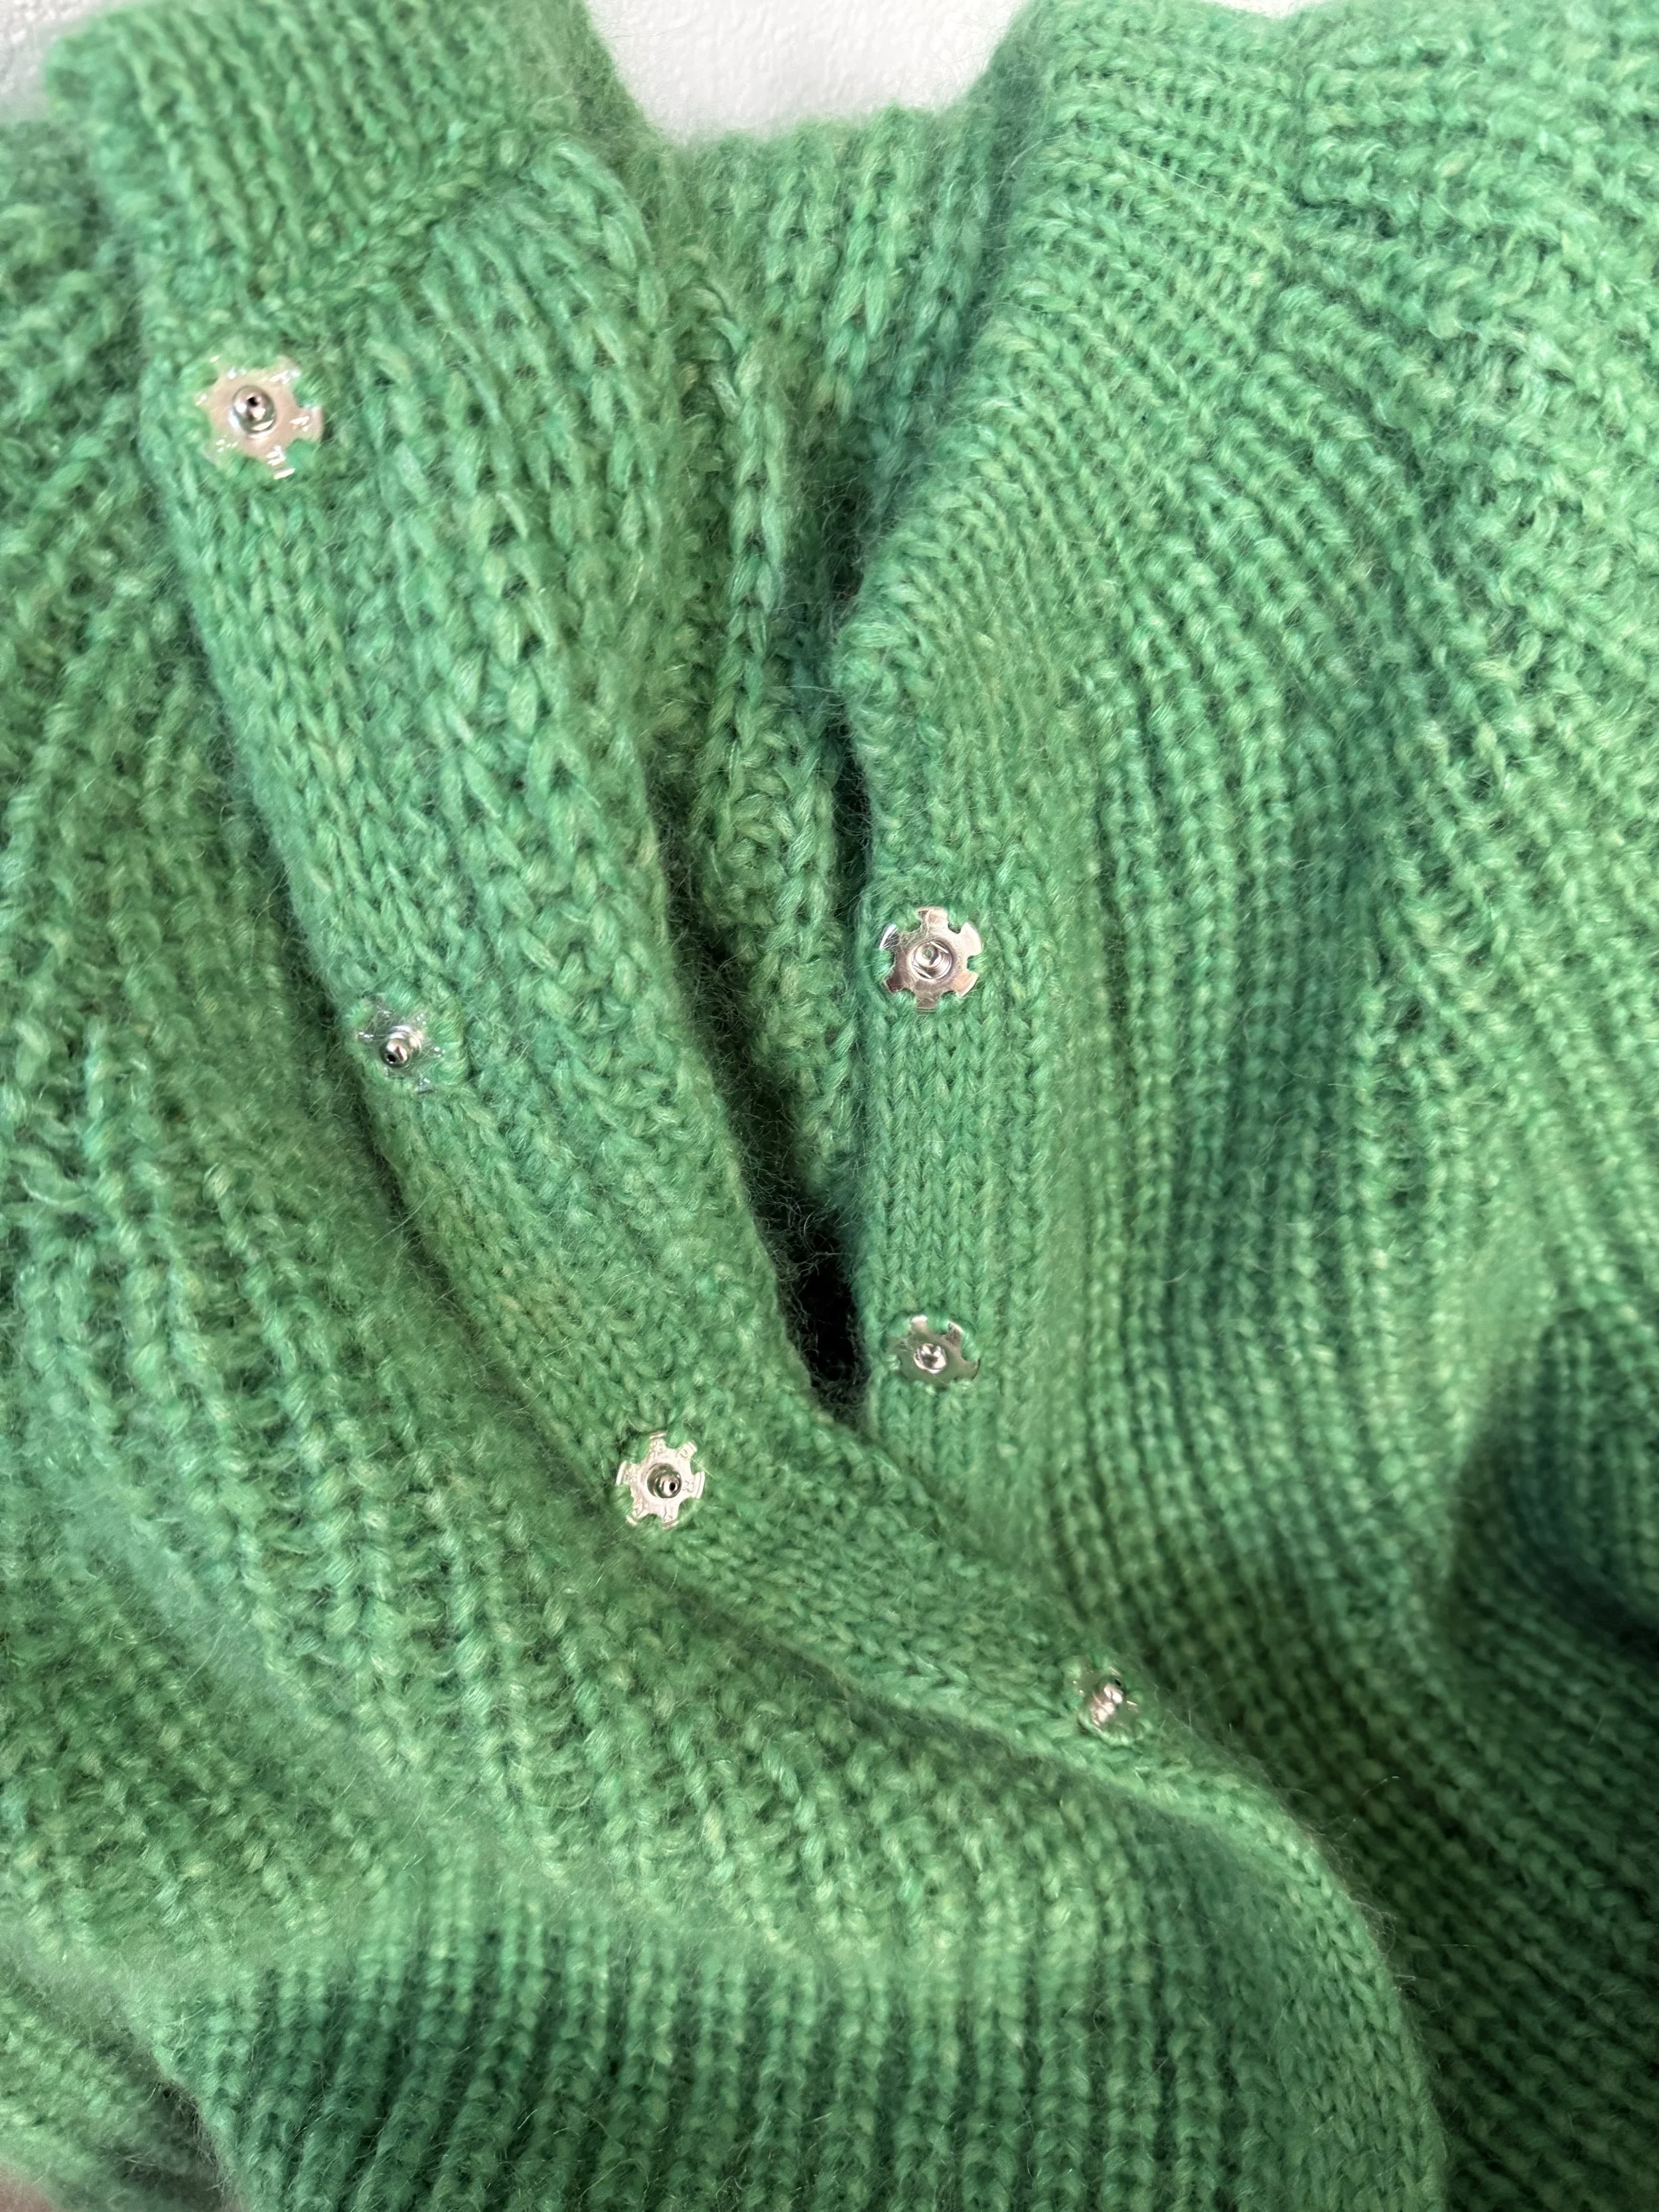
This was my first time doing a button band, and after frogging this thing once I decided to not bother trying to make button holes with this combo of yarn. I will save that for a more forgiving fisherman’s wool project. Instead I opted to sew on snaps and I used these snaps. They are super durable and I don’t feel like they are going to pop off at any second. I should have listened to other’s recommendations to make the button band wider — the pattern calls for 5 stitches and I wish I did 7-9. I used this video to help teach me a double knitted button band. That part was really fun because it went so fast!
I had no issues with the collar — that was fairly straightforward.

I finished the sweater on August 2nd, 2025 — but I still hadn’t figured out the snap situation. I was really hesitant and confused on how I wanted to sew the snaps on — do I used thread?? Yarn?? How do I sew it into double knitted band with making it look like garbage on the right side?? Should I sew real buttons over the top?????
I was totally lost and completely paralyzed, and that is not an experience I have very often.
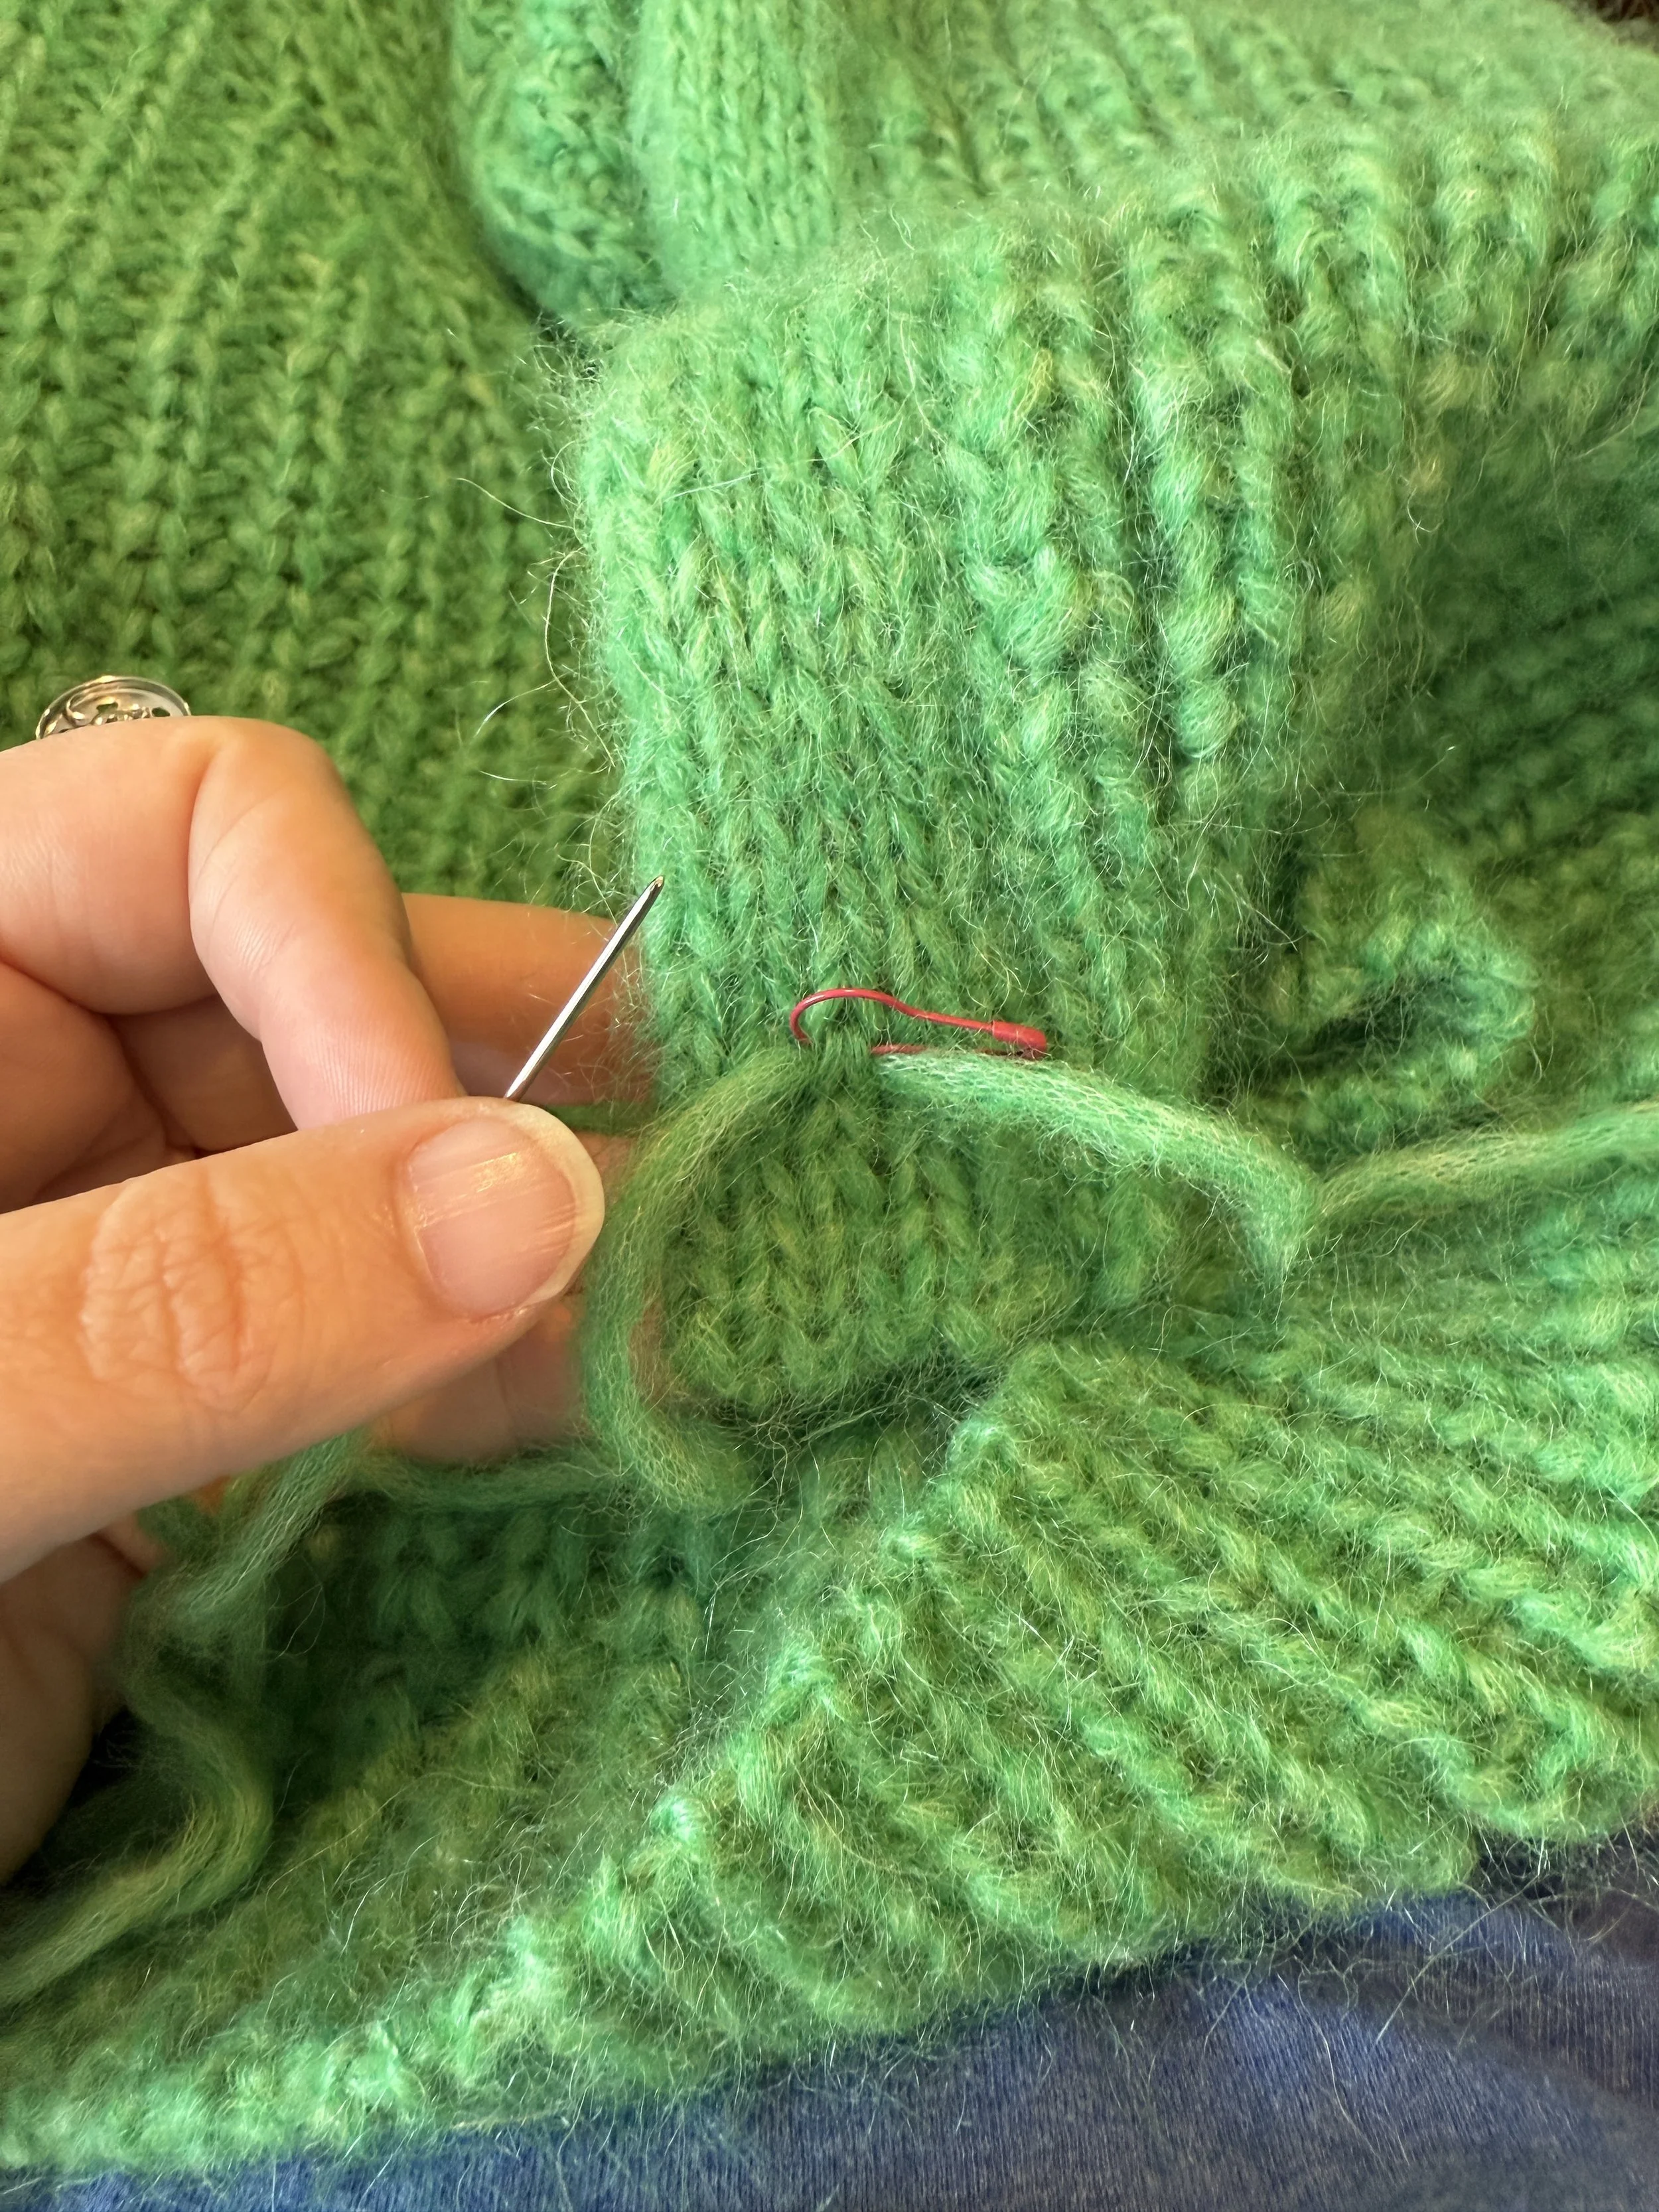
This is when you gauge swatch really comes in handy! I used it as a way to test how I wanted to sew on the snaps, and ultimately I decided to sew them in with yarn instead of thread. I had already measured my button band and then then split it into 6 sections (approx 10cm each) and marked each section with a stitch marker to know where to place the snaps. I used a needlepoint needle - they are smaller than yarn needles so they fit through the snap holes but they have a big enough eye to pass the yarn through. I think I used an 18 or 20 gauge needle, I can’t remember.
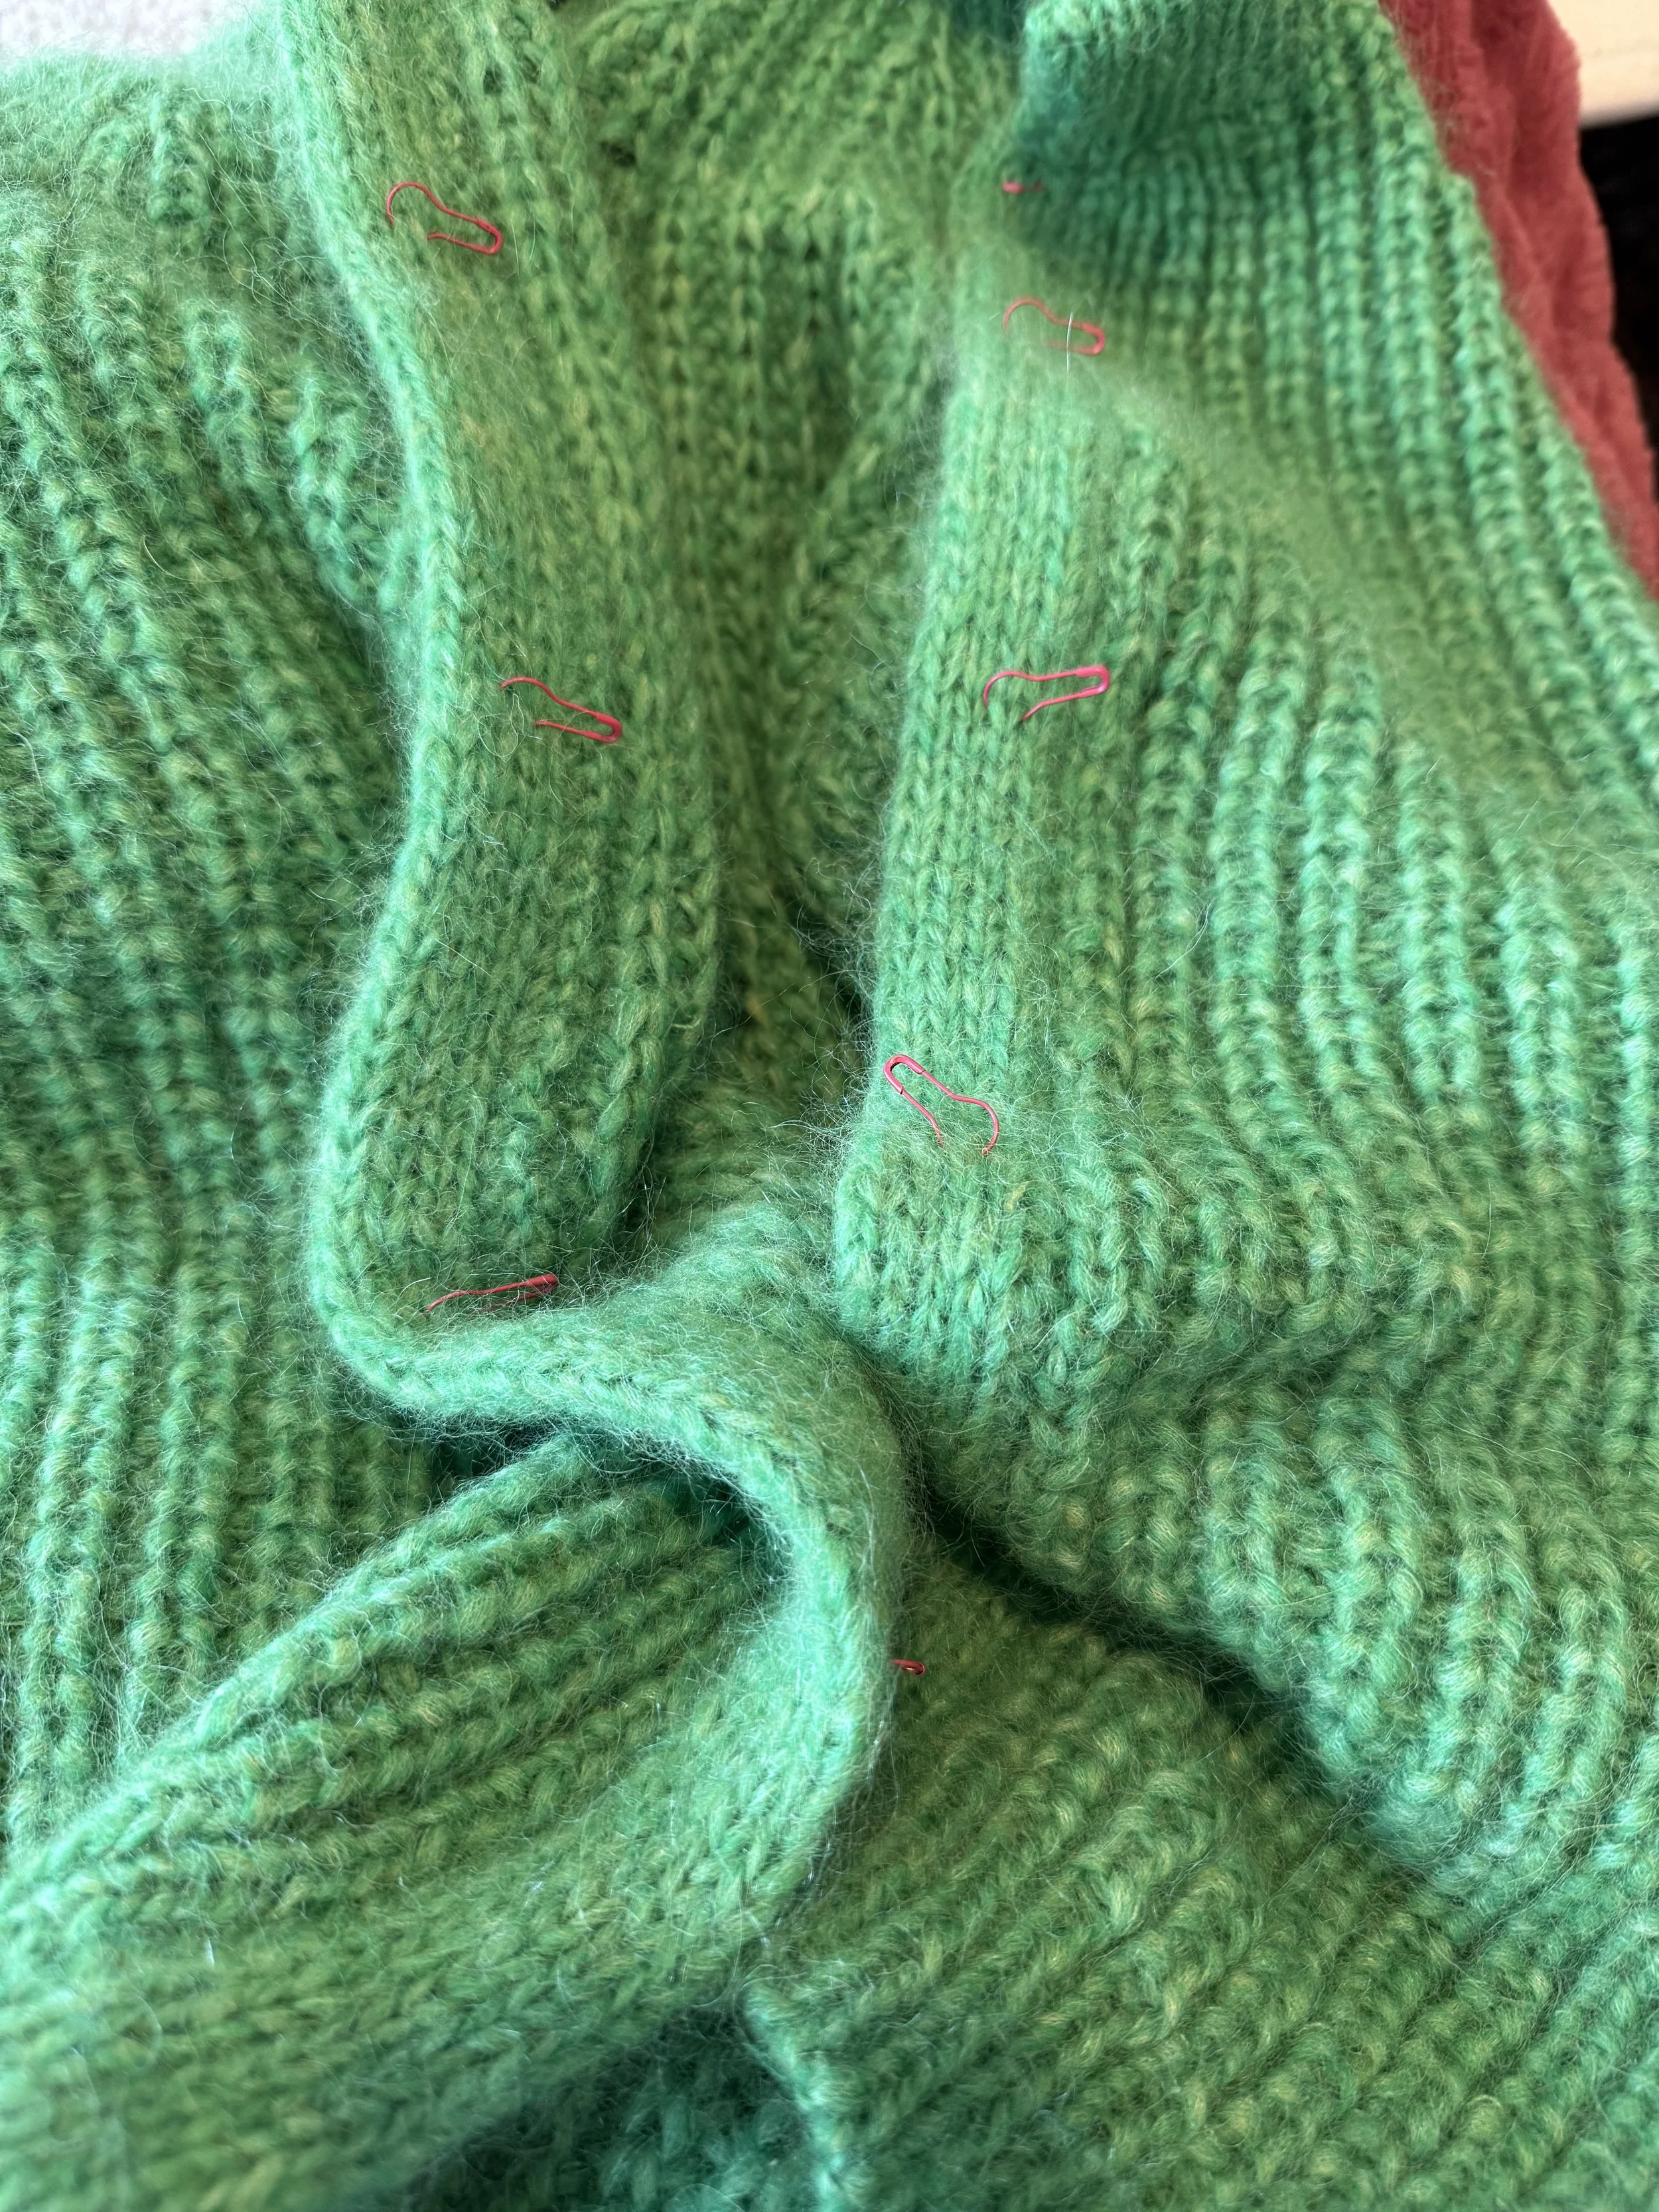
I sewed all the left side snaps before realizing I had put them ALL on backwards (see pic three). I took an hour to breathe, reset, eat and relax before ripping them all out and starting again. Thankfully the second time went super quickly and I was able to finish both bands that night.

Final Thoughts
I will absolutely make this pattern again, and I think my overall knitting experience will be much more pleasant because I will be constructing it correctly and not working under my stupid assumption that the WS was facing outward. Seriously, Kika if you are reading this I am so sorry I was annoyed at your pattern — it was alllllllllll me.
When I knit this again I will likely use a single, heavier yarn like Knitting For Olive Heavy Merino. I will also definitely widen the button band and attach real buttons. I might try making the sleeves less balloon too, although I do really love that look.
You can find the designer Kutovakika on her youtube — she makes the coziest, sweetest knitting vlogs and videos. I discovered her one morning when I was up at 5am and looking for something to knit to while I sipped my coffee. I also just love being able to see Helsinki through her videos again — my trip to Finland with my cousin in 2018 to find where our grandmothers and greatgrandmother were from is still one of my favorite trips of my life. Kika is also on instagram at @kutovakika and you can purchase this design and many more of her other gorgeous designs at www.kutovakika.com
You can find more of my content in all the normal places: tiktok | instagram | ravelry | youtube | BlueSky | & you can contact me through email at hello@thenovelstitch.com