
Reverse Engineer the Nola Cardigan - Part 1
This post may contain affiliate links. If you purchase through them, I may receive a small commission (at no additional cost to you). I’m so grateful for your support — it helps me keep creating and sharing these projects.
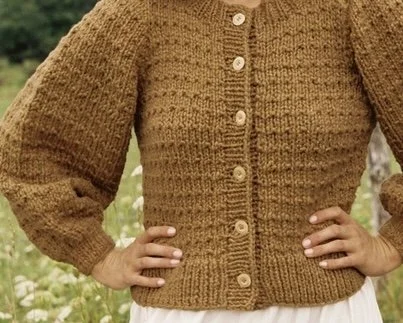
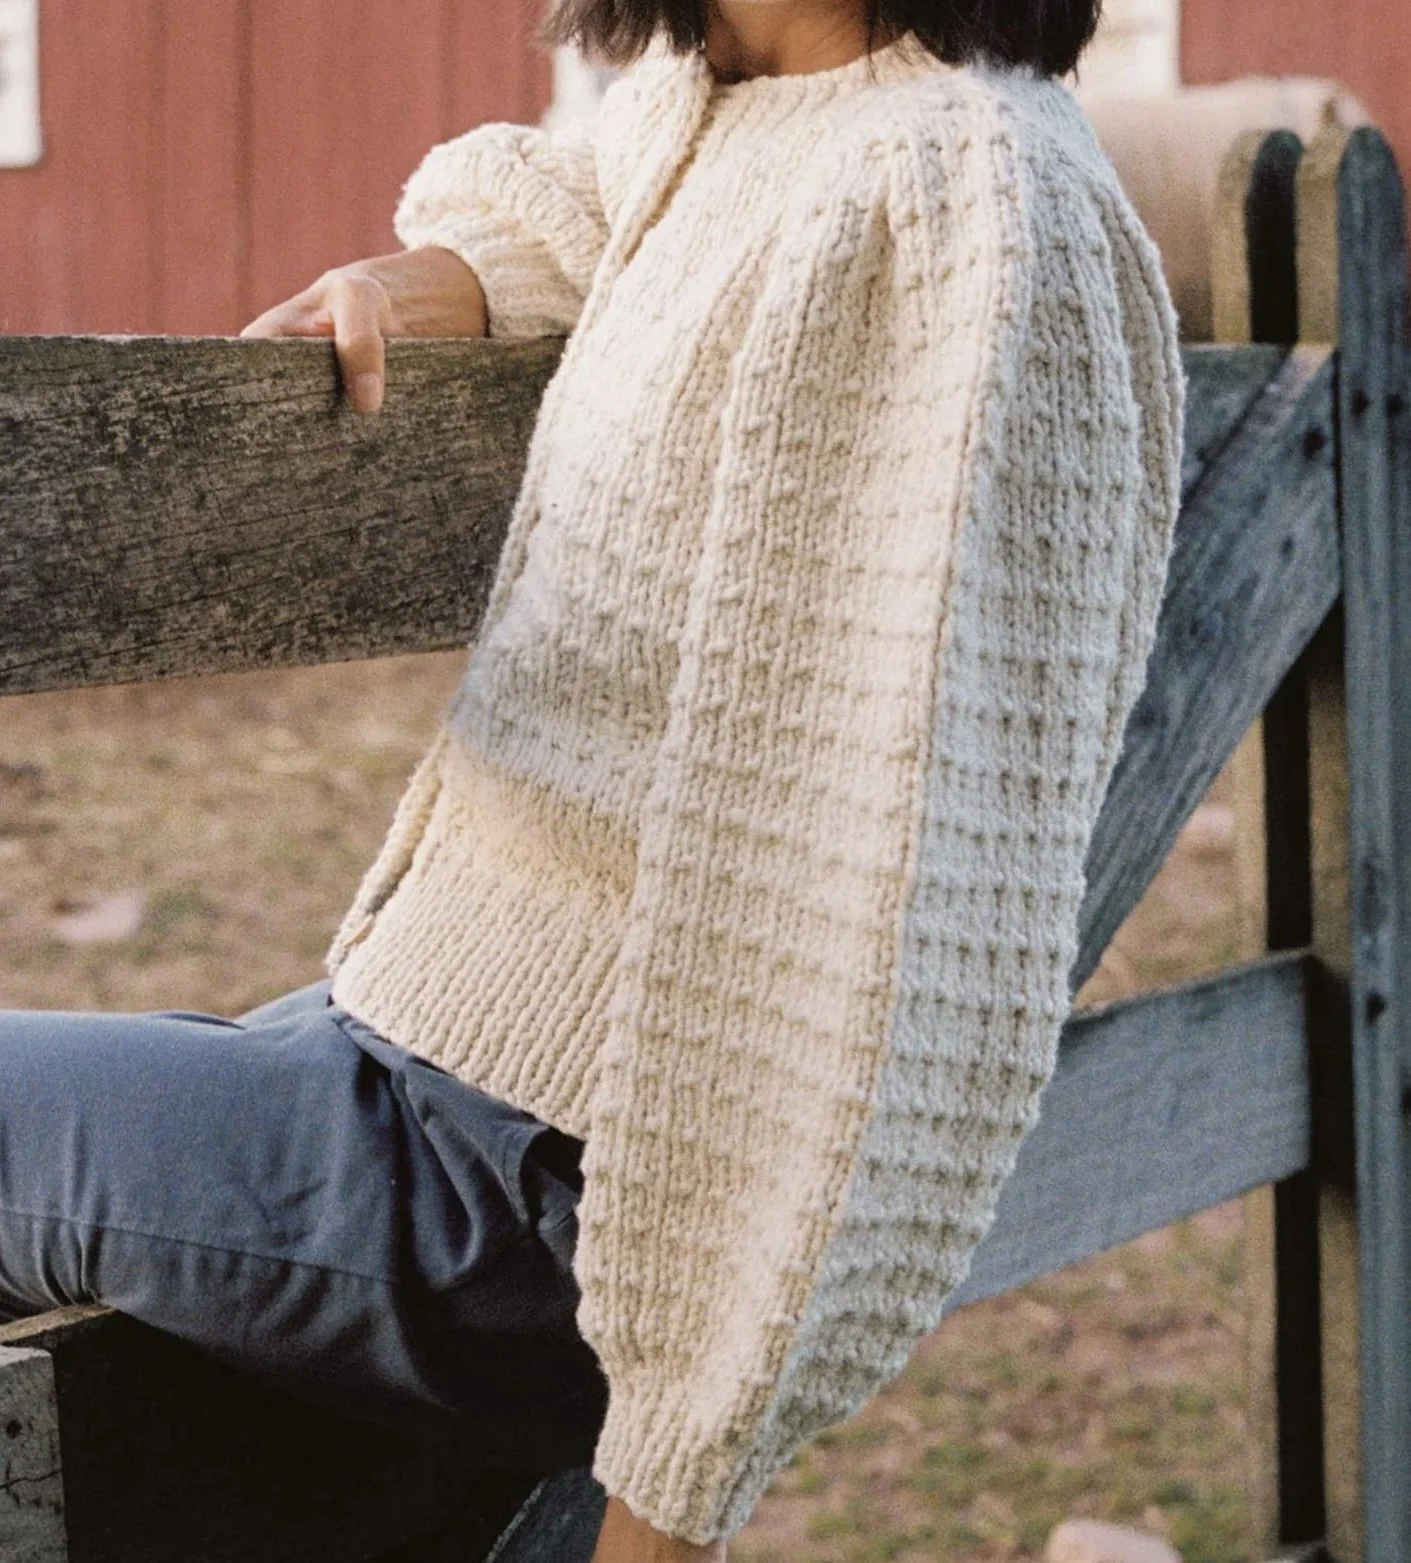
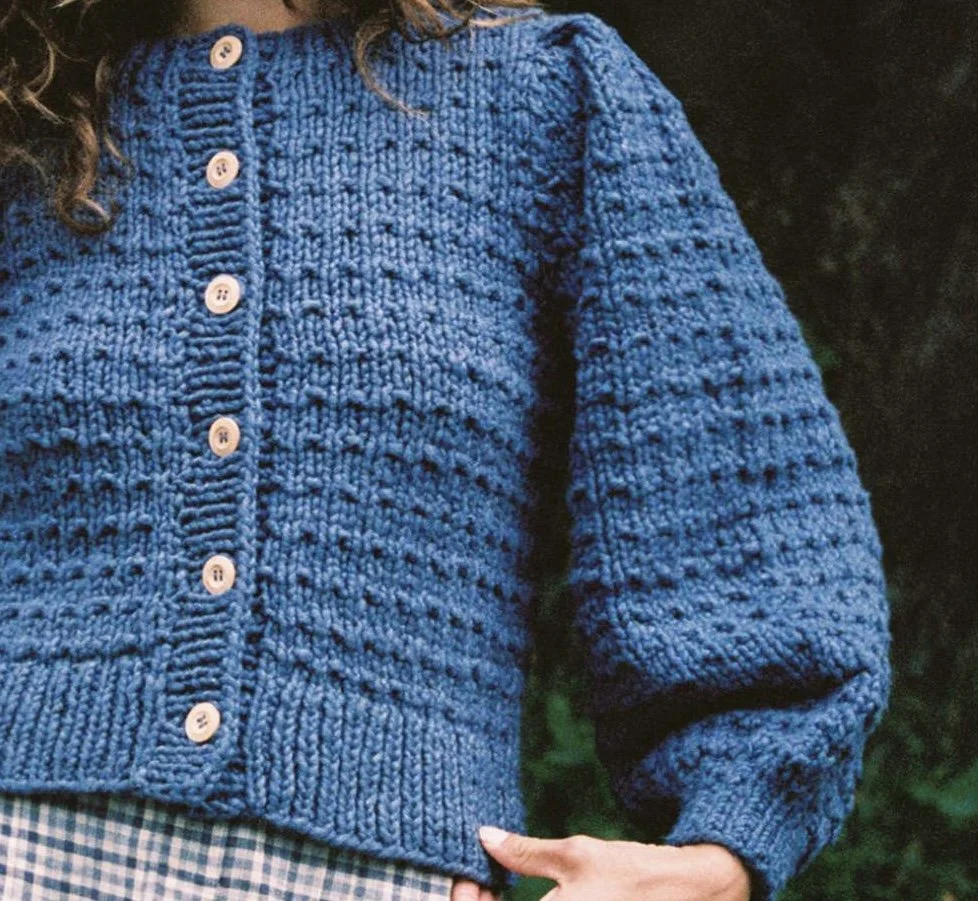
I fell in love with the texture of the Nola cardigan by Christy Dawn but honey $500 for COTTON? It’s a no for me. Instead I decided to draft my own version to learn set-in sleeves, seaming and a bunch of other skills I didn’t know I needed. Obviously it should go without saying that this will not be exactly like the original because I’m only going off of photos I have no insight into the actual dimensions of the garment AND the point of reverse engineering a garment is to make it fit your body best so I have altered some of (what I can see) the original design to fit my preferences and body. Come along the journey with me!
Figuring out gauge and fabric
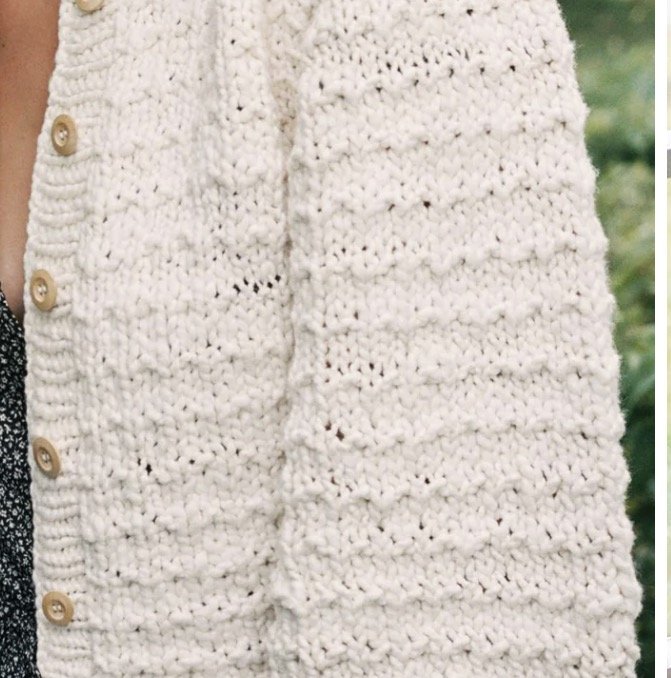
First, I spent a ton of time trying to figure out the stitch pattern in the photos. I knew what yarn I was going to use but not what needle size, so made a couple of swatches with different stitch patterns and needle sizes to see what I liked. I had a ton of Lions Brand Fisherman’s Wool in Natural laying around that I knew I wanted to use. The stitch pattern I landed on was a 4 row repeat: Row 1-3 stockinette Row 4 (RS) K,P,K,P to create that broken rib look.
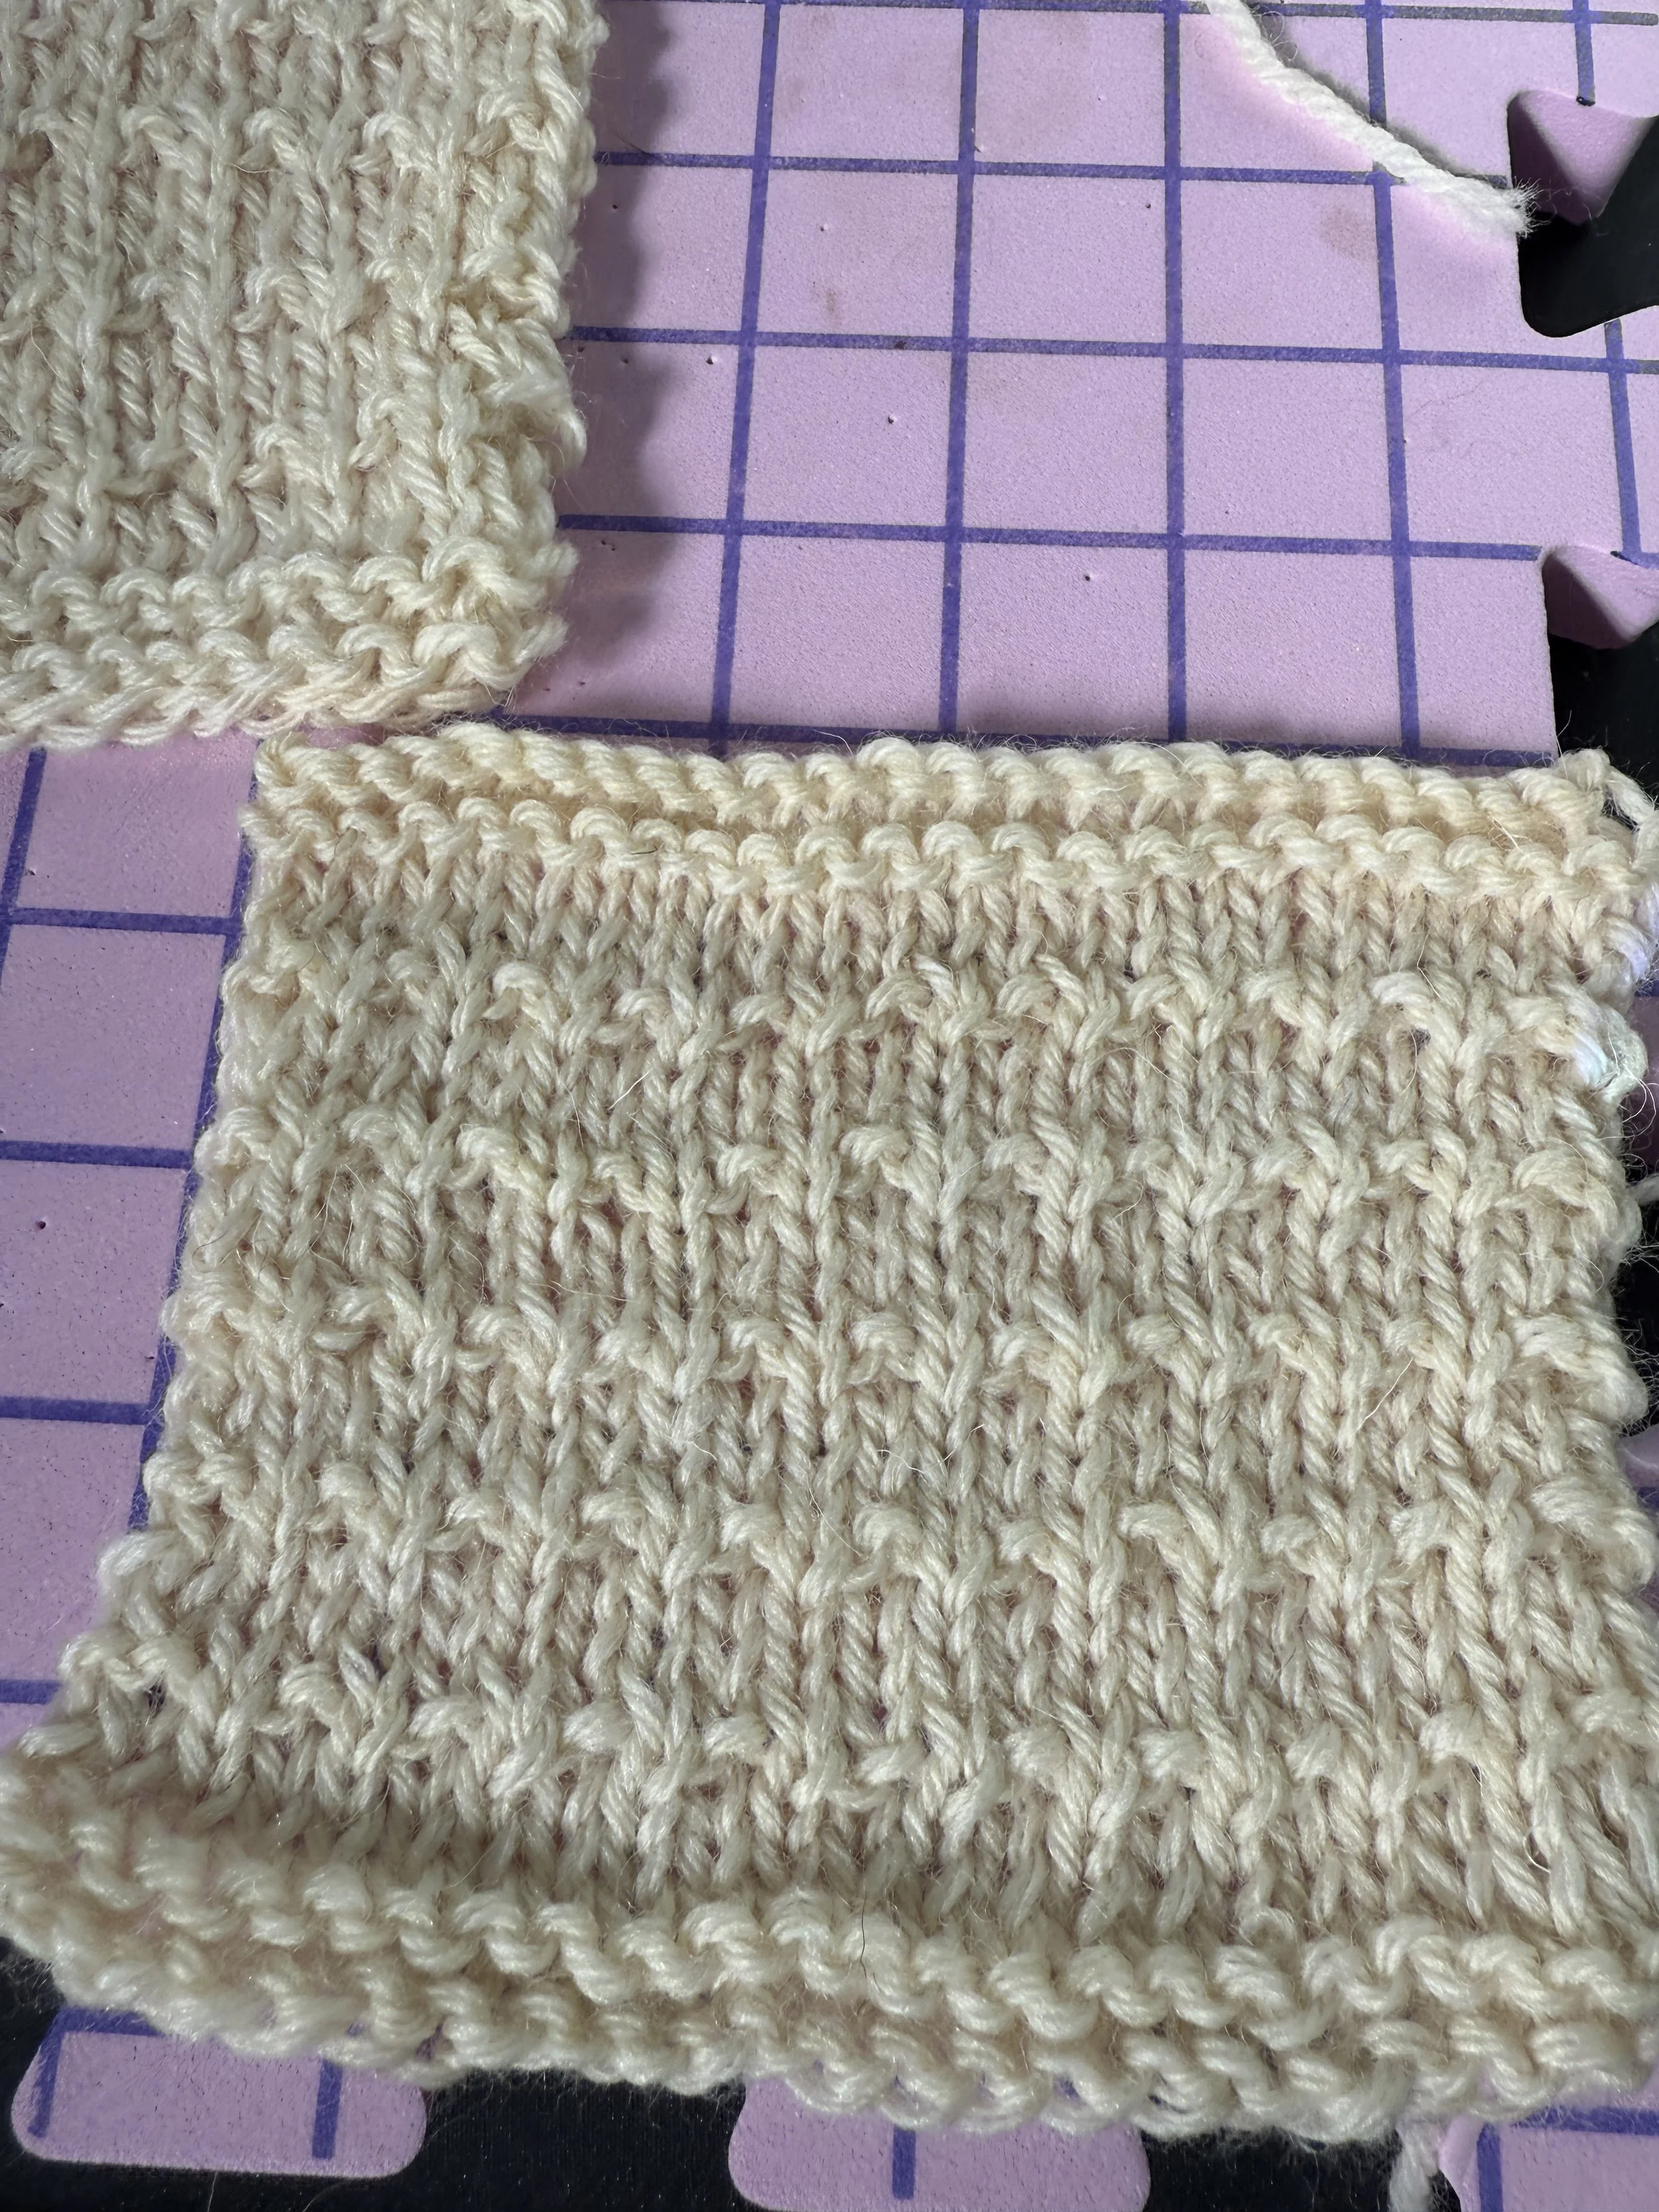
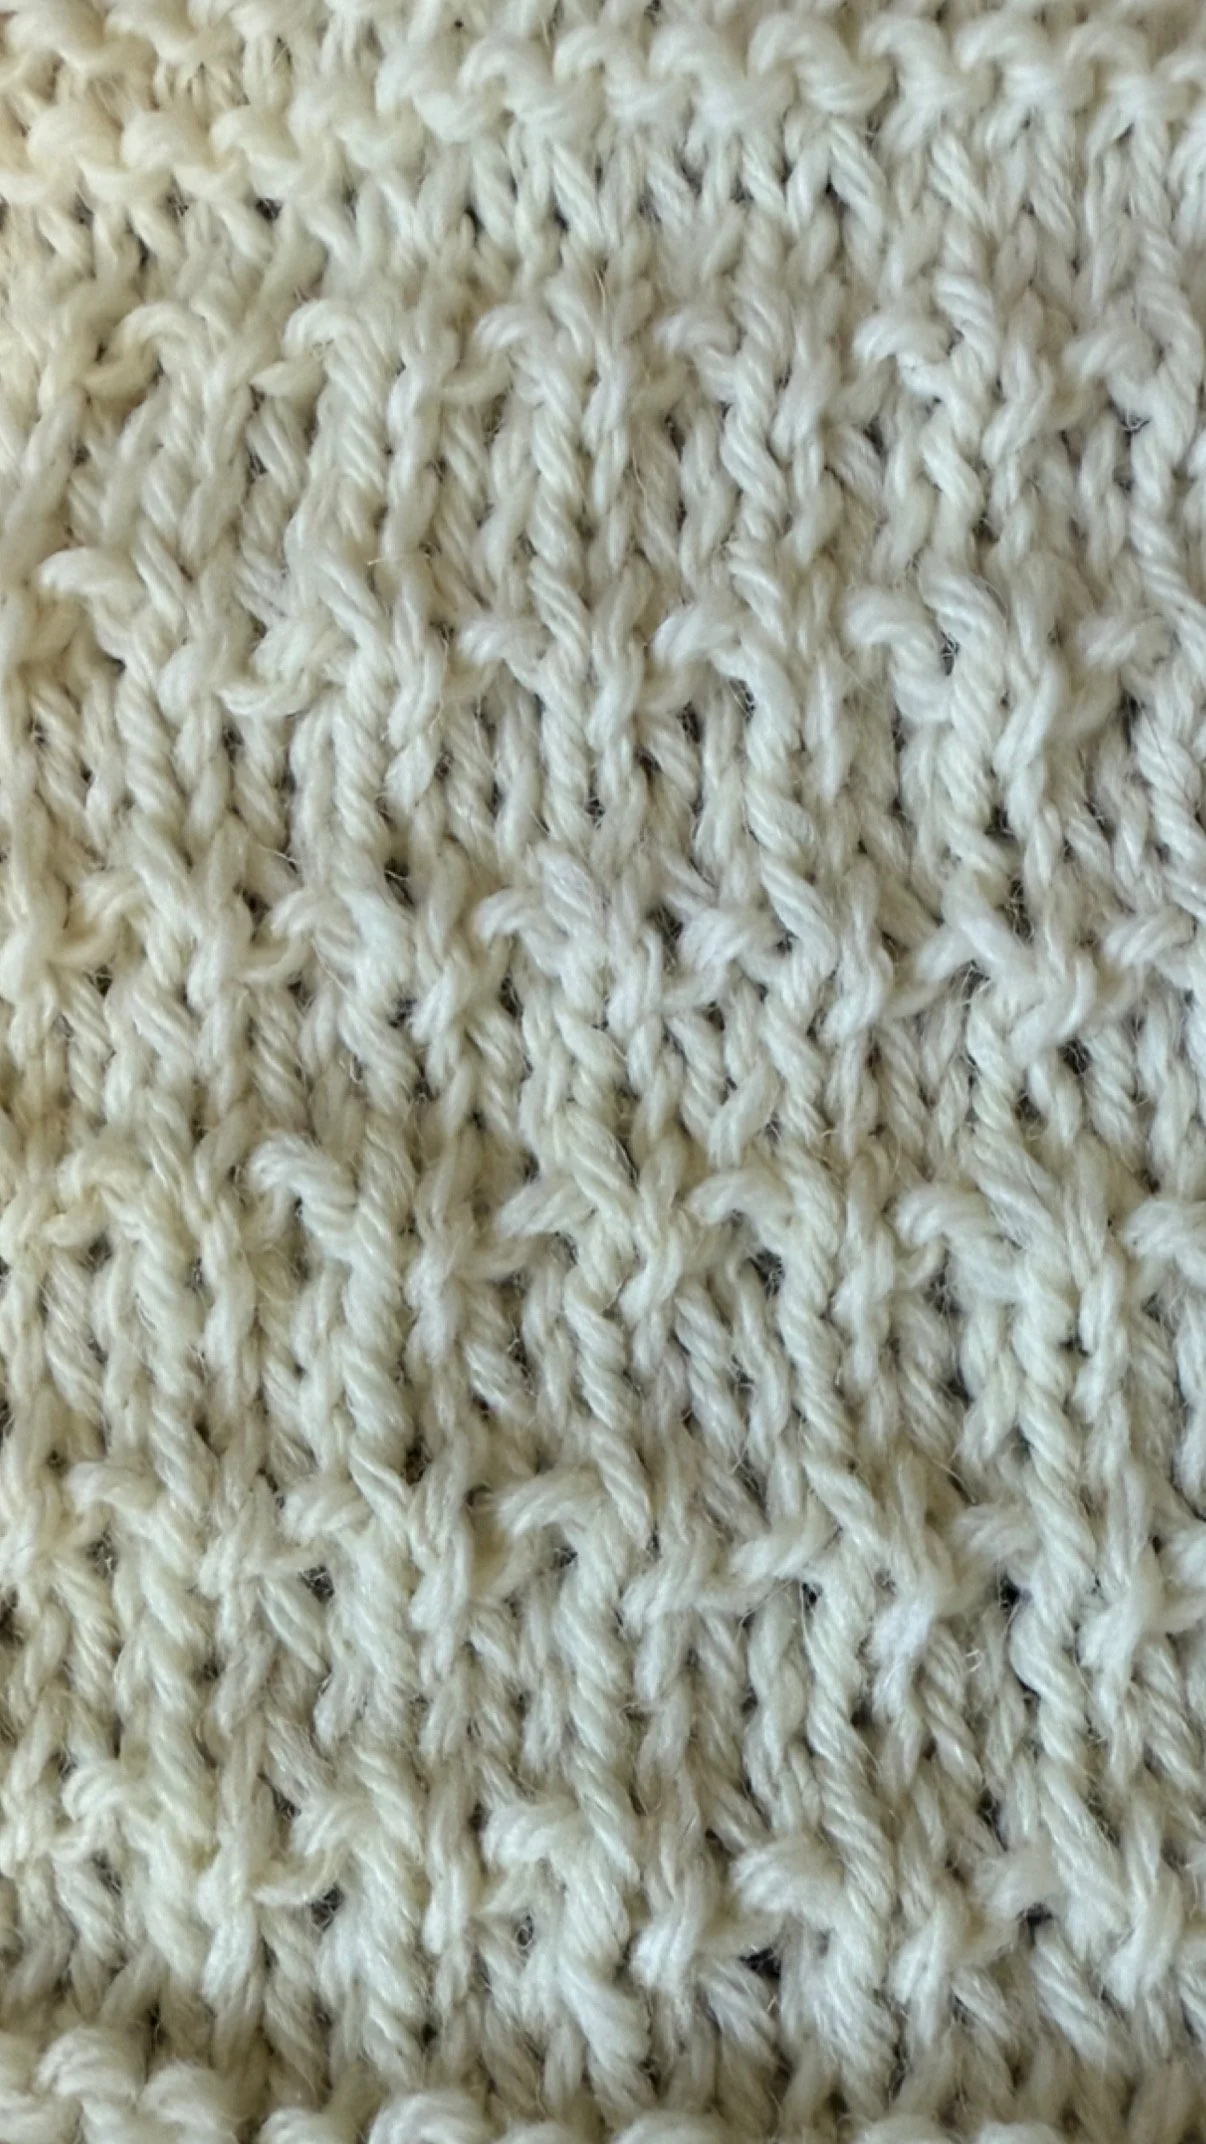
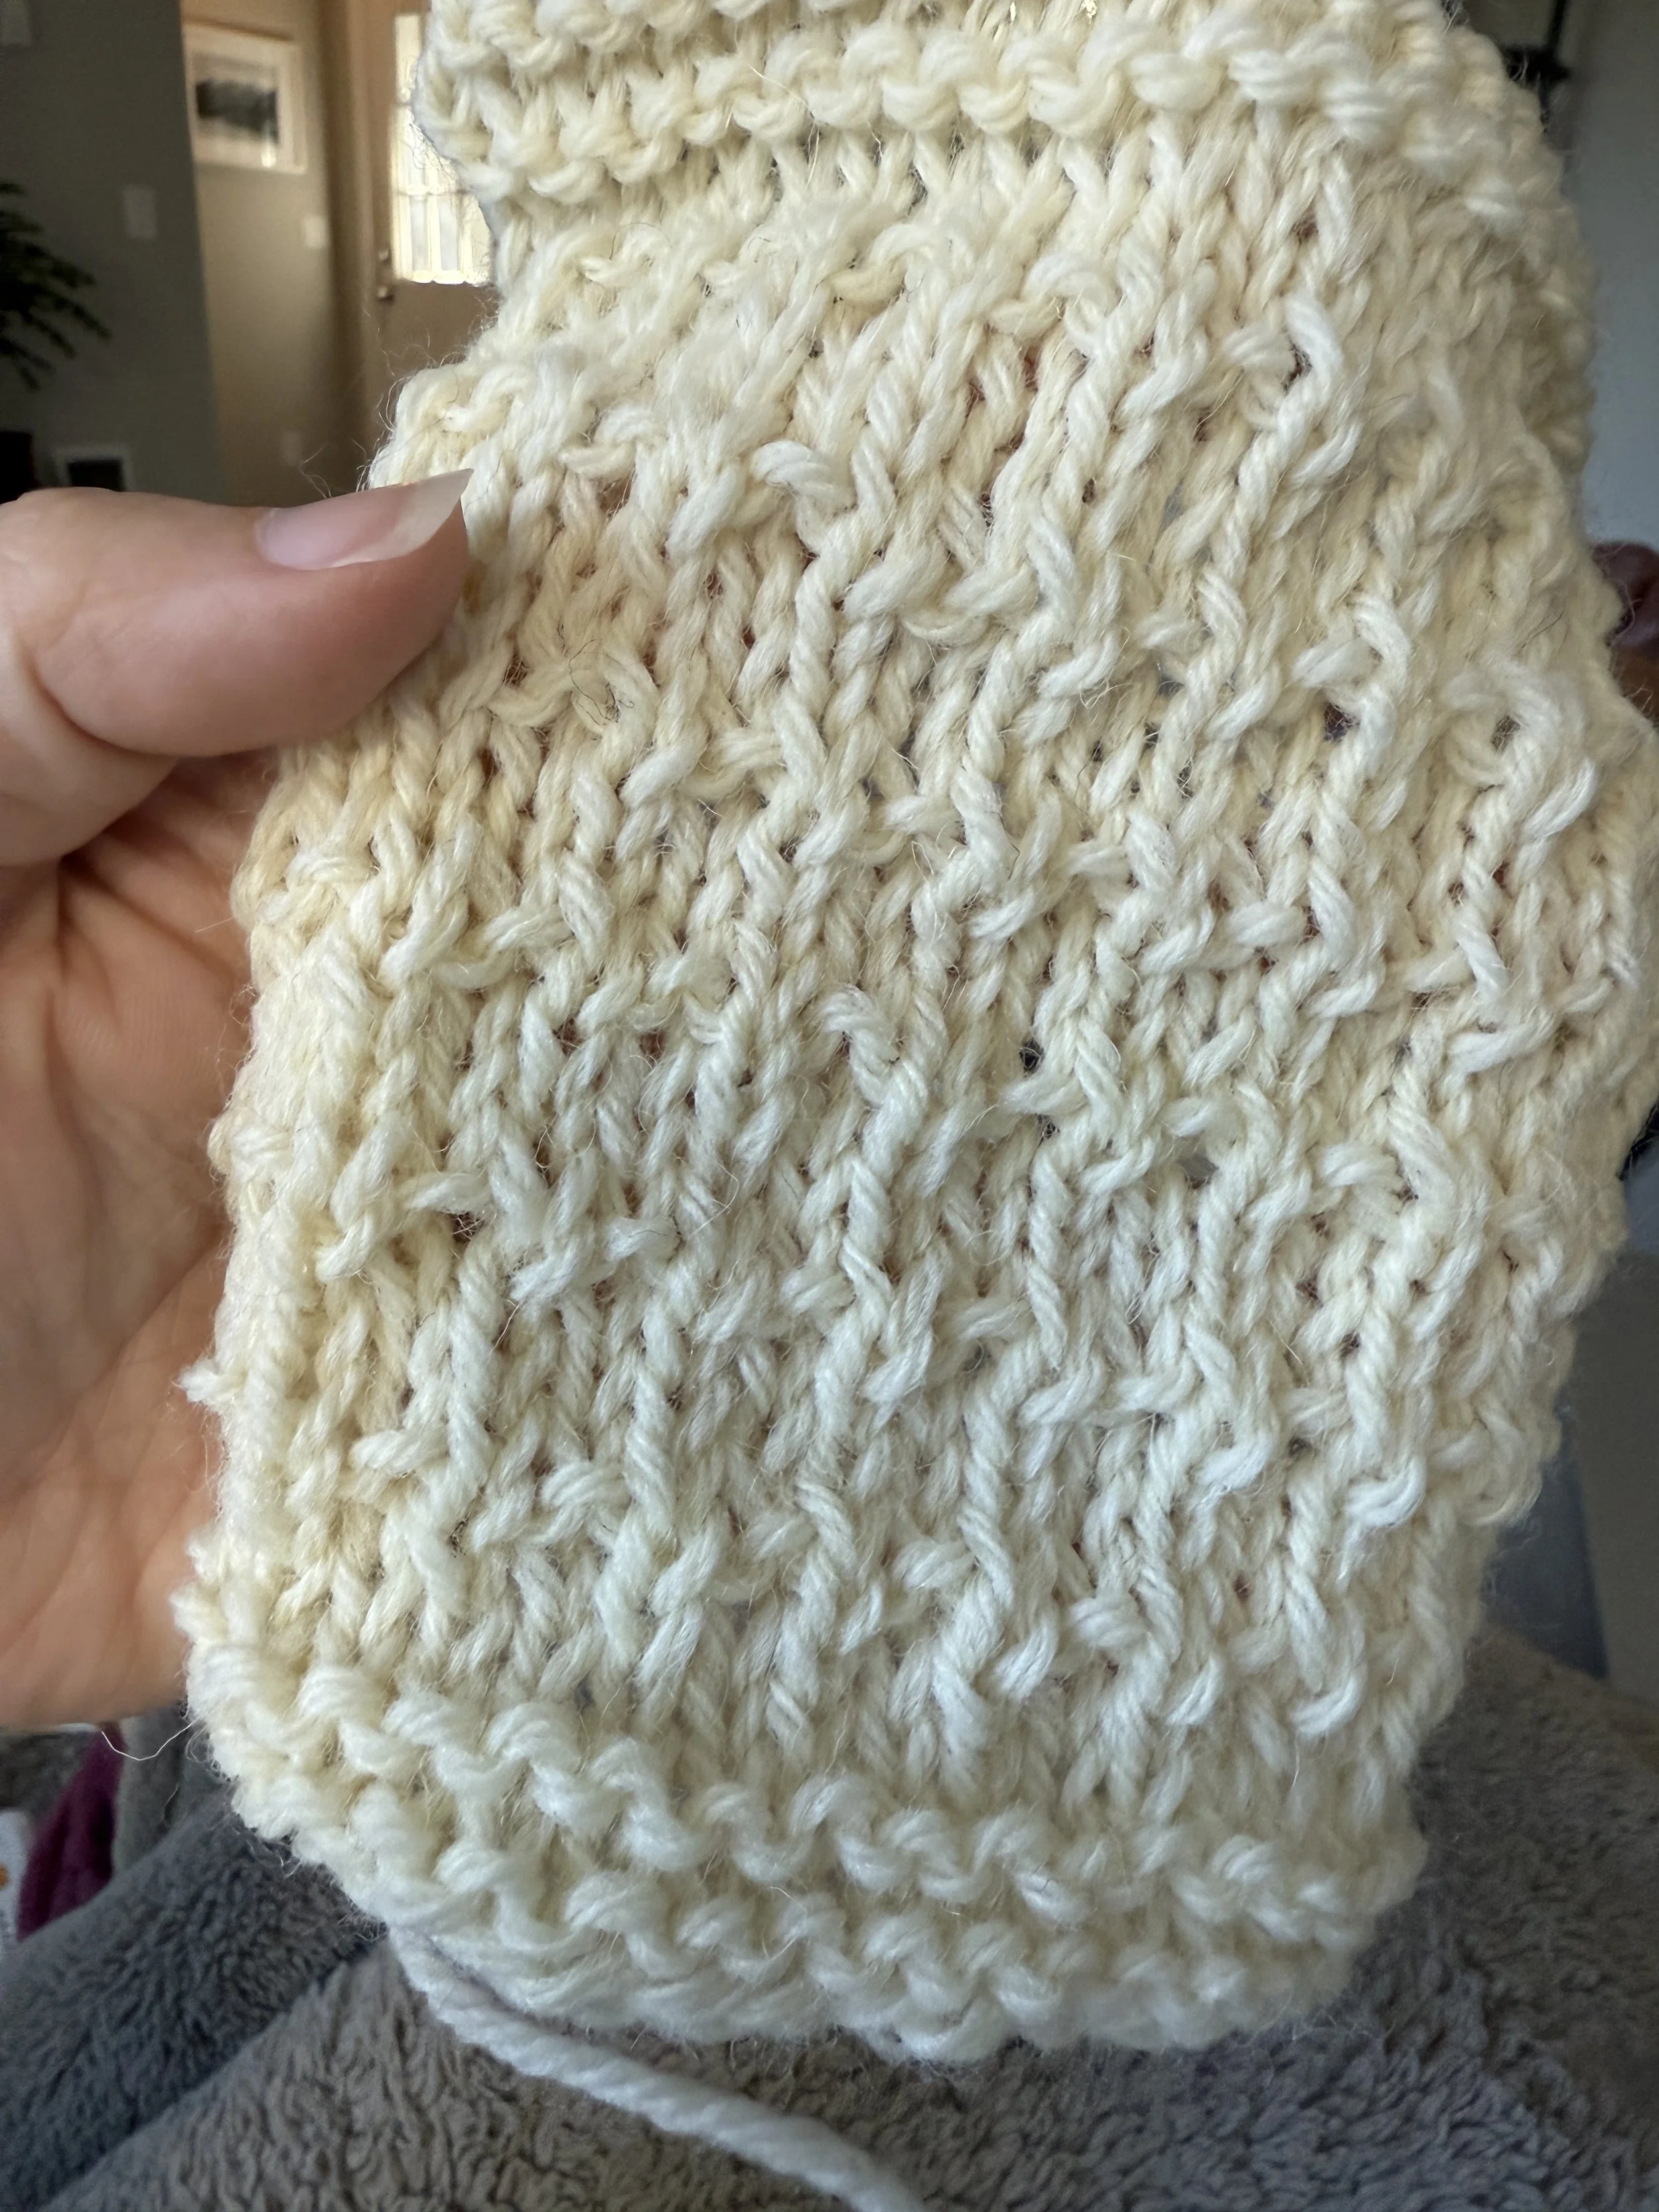
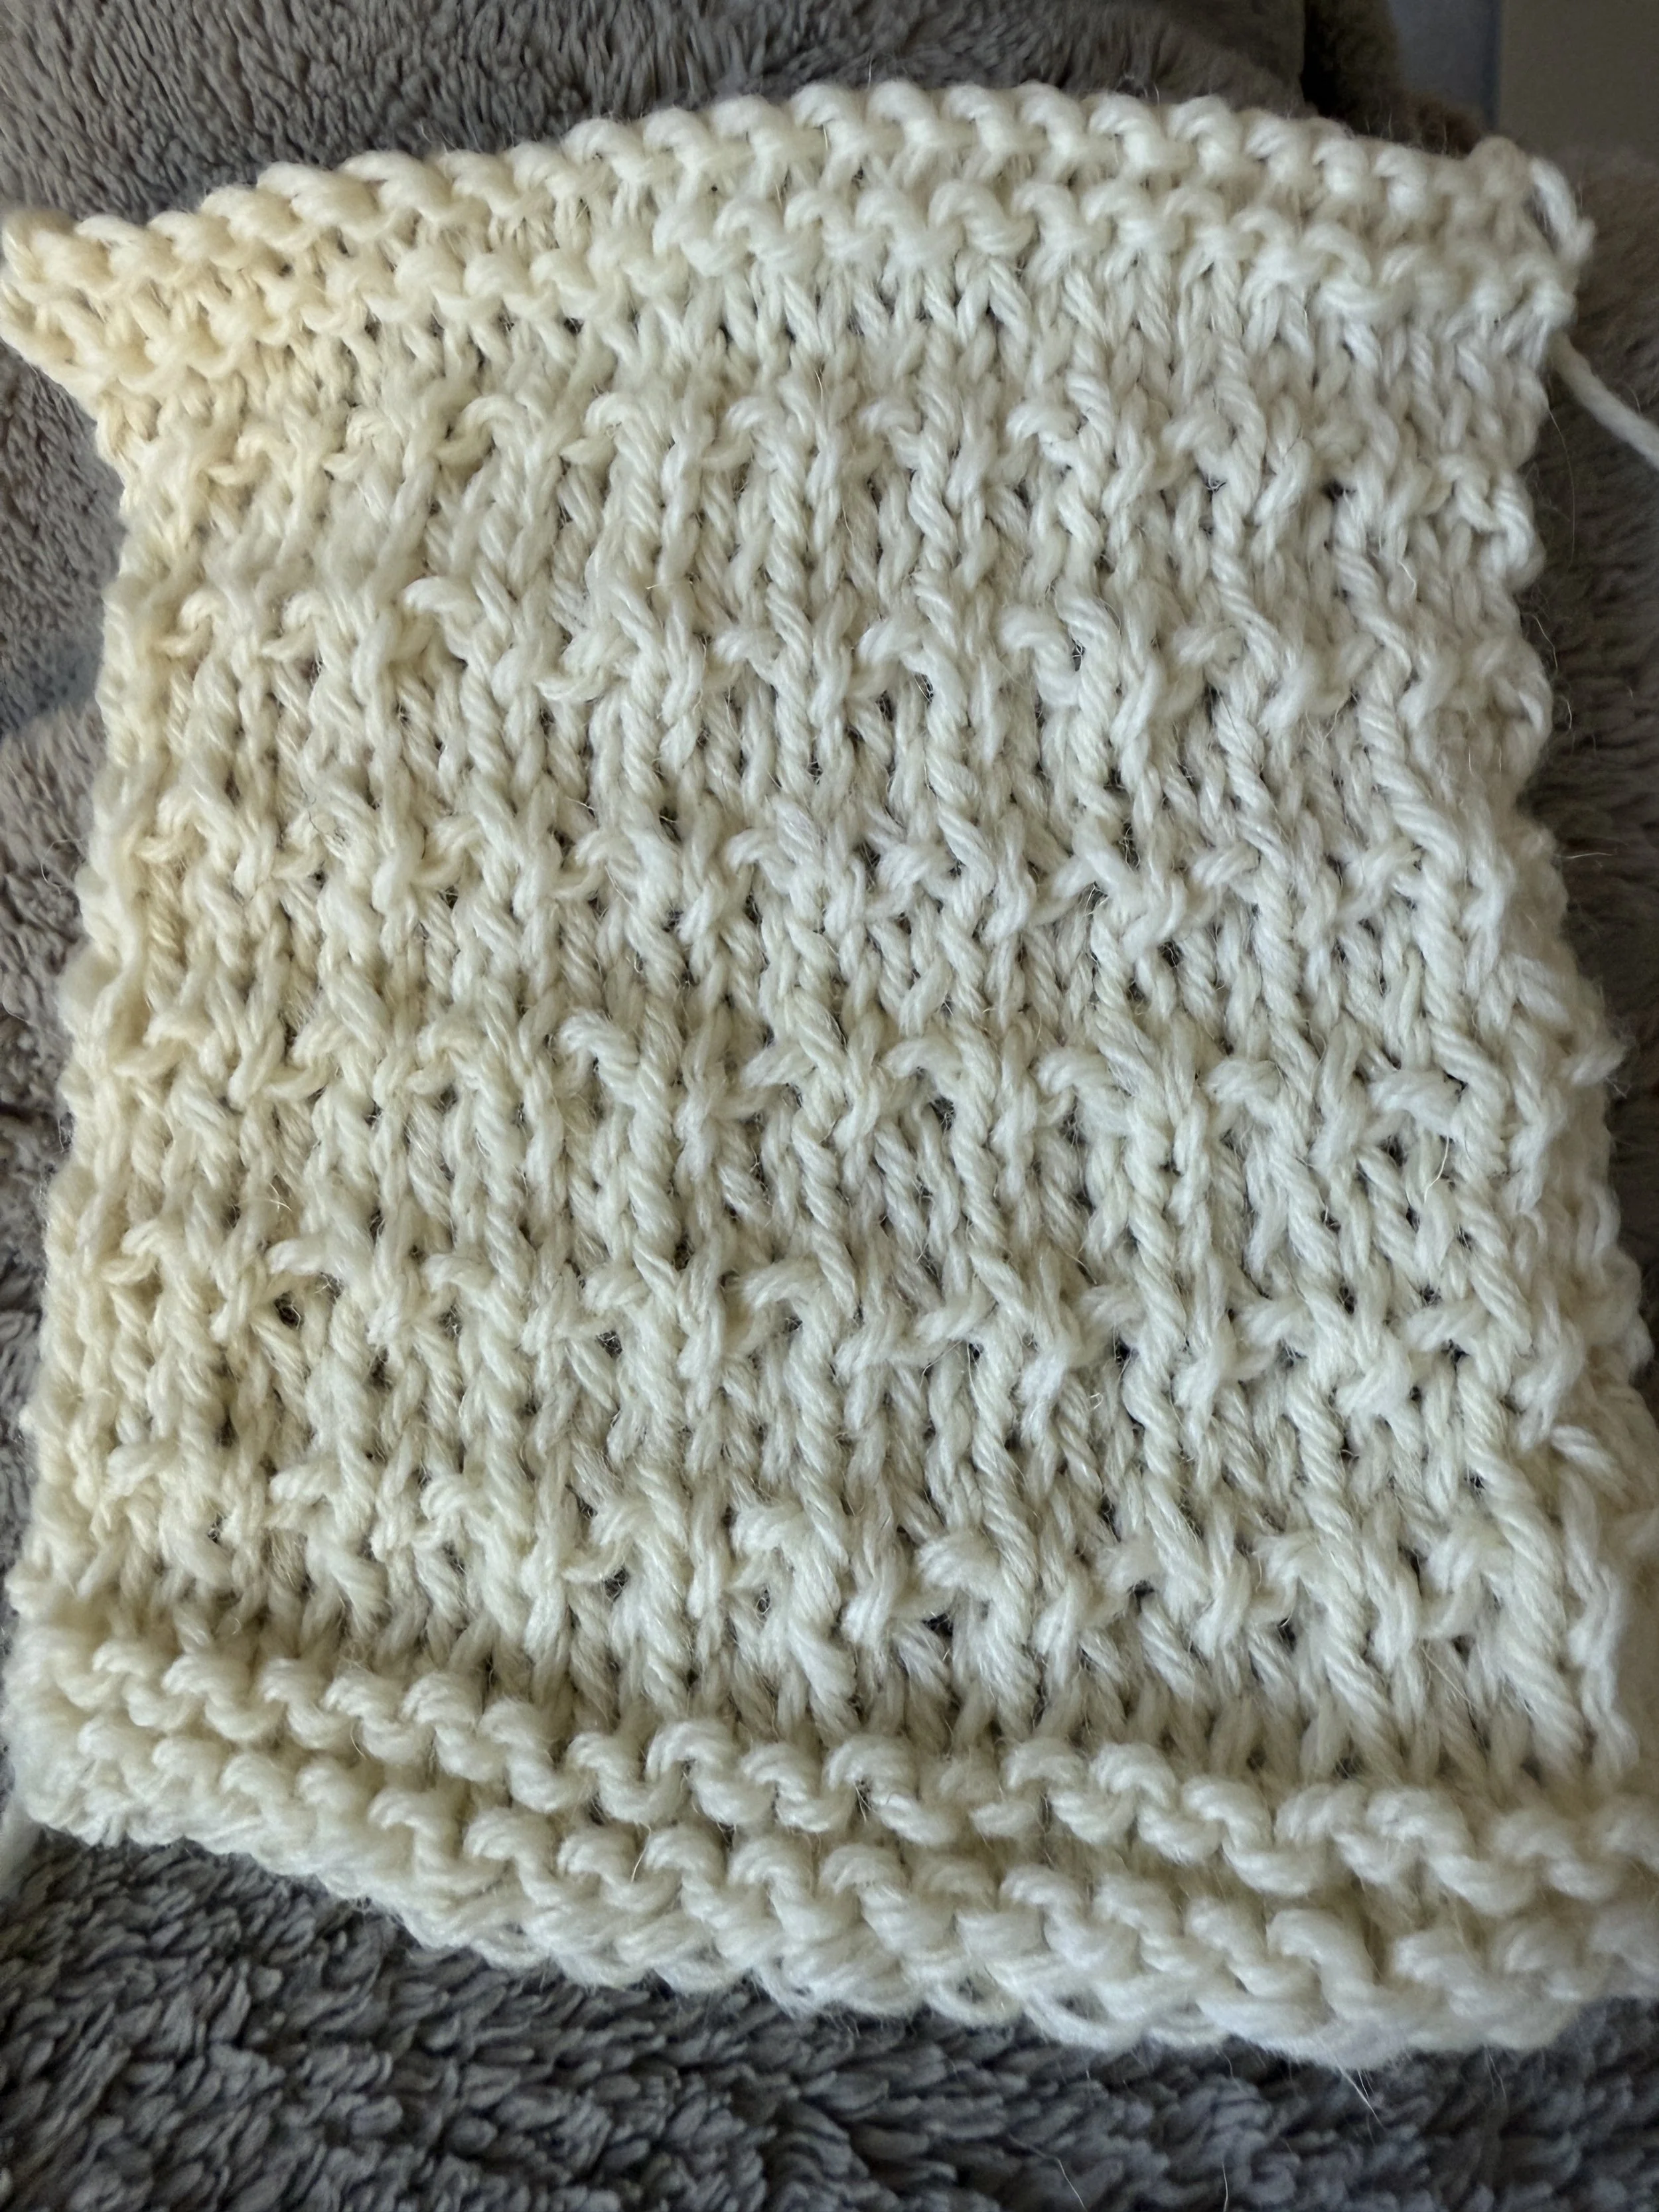
I tried 5.5mm, 6mm and 6.5mm needles ultimately landing on 5.5mm (US 9) needles for the sweater. While I didn’t want this sweater to be a tight gauge I also didn’t want it to be super flowy. I want some structure and rigidity, because to me this is an heirloom piece that I will wear forever (this is also why I was not going to pay five hundred bucks for a cotton sweater, cotton loses structure over time and shows wear a lot more). My gauge in stitch pattern was 17 stitches x 24 rows. I got this gauge on bamboo needles (my favorite kind here!) and knitting continental style. I think it’s really important to include the tools and style you used to get your gauge.
Sweater Construction
I have never reverse engineered a sweater before, and I have never built a sweater off my own body measurements either, so I am completely learning on the go and flying blind. I am using all the resources to help me with the math pieces (lots of googling!) and sweater construction books (this one and this one!) as well as lots of youtube videos like this one from Roxanne Richardson to help me get an idea of how you can design a set in sleeve sweater.
I ultimately decided to work each piece flat and seam them all together at the end because I’ve never knit a garment using this method and I wanted to learn and also, if I make a mistake I’m just ripping back one piece, not the whole thing. I am wondering how the stitch pattern will work up doing all the pieces separately but we’ll just have to wait and see.
I took my body measurements and had to do some math to figure out stitch counts but it wasn’t too difficult. The worst part was trying to measure the length of my mid back by myself. Once I got my measurements I was able to figure out stitch counts for front and back pieces, arms and neckline. I haven’t figured out decrease numbers yet but I’ll figure it out when I get there I think.
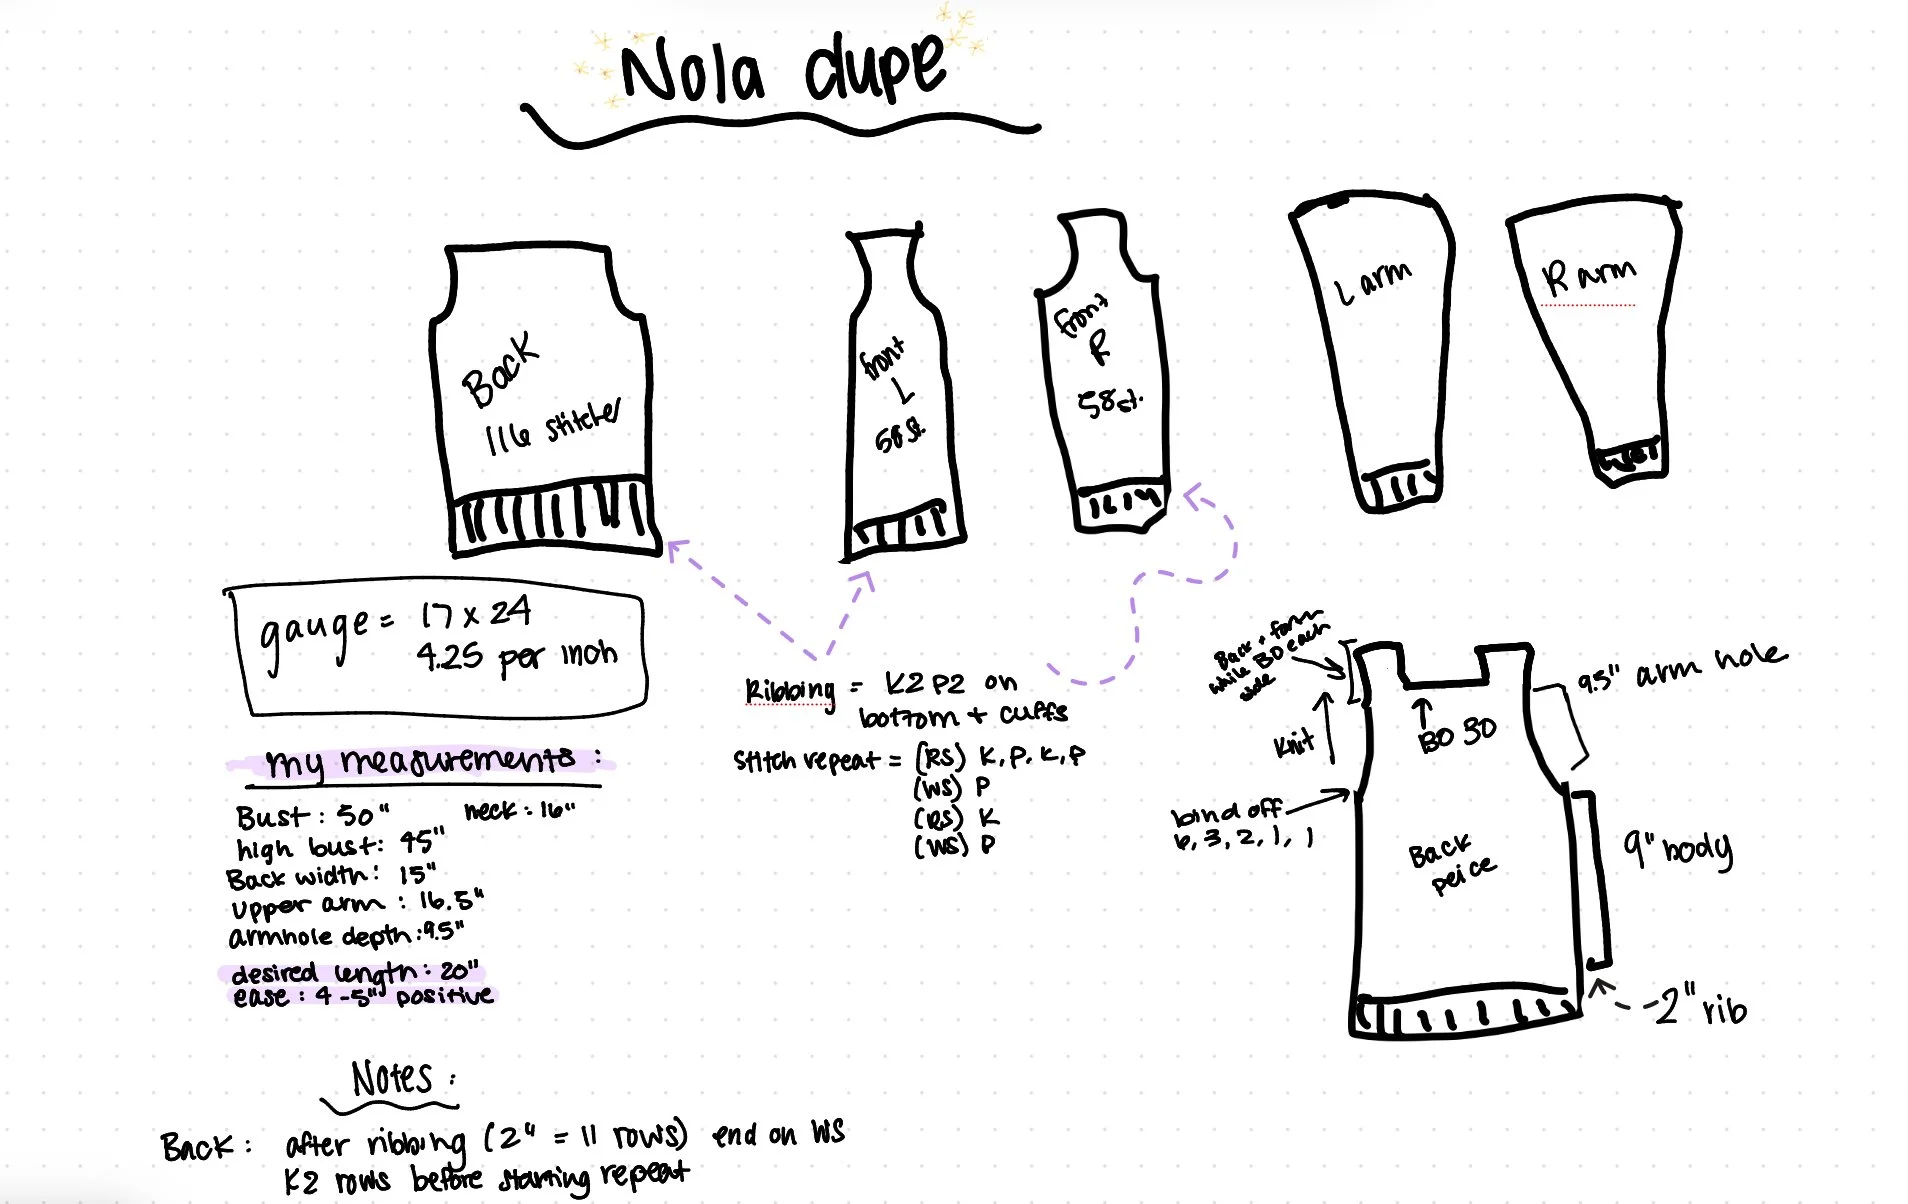
mock up using my ipad and GoodNotes app
As you can see, art and math are not my strong suits but that’s ok we’ll make do. I’m going to attempt to show you how I got my stitch counts for each piece but know that I haven’t figured out how I am going to the arm hole shaping yet, so I’ll leave that out until part 2.
I took my gauge swatch 17x24 and figured out how many stitches per inch I had (17 /4 = 4.25). This is the amount of stitches I have per inch of my measurements (4.25 per inch).
Next, I have to figure out how many stitches total I needed to go around my body. I took my bust measurement (50”) and added the amount of positive ease I wanted (50 + 4 = 54”) Now I took my finalized bust measure with the ease added in and multiplied that my my stitches per inch, 4.25 (54 x 4.25 = 229.5).
I rounded up to 230 and divided by two which represent the front and back halves of my sweater. Since 225 divided by 2 is 115 (odd number) I rounded up to 116 to give me an even number for ribbing.
So, I will cast on 116 stitches for my back panel. When I get to the front, I divide the front 116 stitches by 2 since I am making a cardigan and there are two front panels, resulting in a cast on amount of 58 for each side (more in part two).
I measured from my shoulder to where I wanted the sweater to hit on my hip and it is about 20”. Now since I’m doing this bottom up and flat, trying on to see fit is not an option. It’s likely I will have to rip back and start over to adjust length. You could totally do a provisional cast on to reduce this need, and honestly i might rip back and do that anyway. But, going with 20” I drew a diagram to help me visualize my back piece — 2” ribbing, then 10.5” in body (I wrote it wrong on my diagram), and then 9.5” for the armhole. I have yet to finalize how I will shape the arm holes, that will be in part 2!
Now, we cast on — come back for part 2 when I’ve finished the back piece!
As always, you can find more of my content in all the normal places: tiktok | instagram | ravelry | youtube | BlueSky | & you can contact me through email at hello@thenovelstitch.com